Quick Start
Teaching video
Section titled “Teaching video”Start-up and shut-down video
Section titled “Start-up and shut-down video”Remote control binding video
Section titled “Remote control binding video”Network connection video
Section titled “Network connection video”Posture and movement video
Section titled “Posture and movement video”Development and debugging video
Section titled “Development and debugging video”Motor calibration(23-dof) video
Section titled “Motor calibration(23-dof) video”Motor calibration(29-dof) video
Section titled “Motor calibration(29-dof) video”Boot process
Section titled “Boot process”Sitting upright and turning on the device
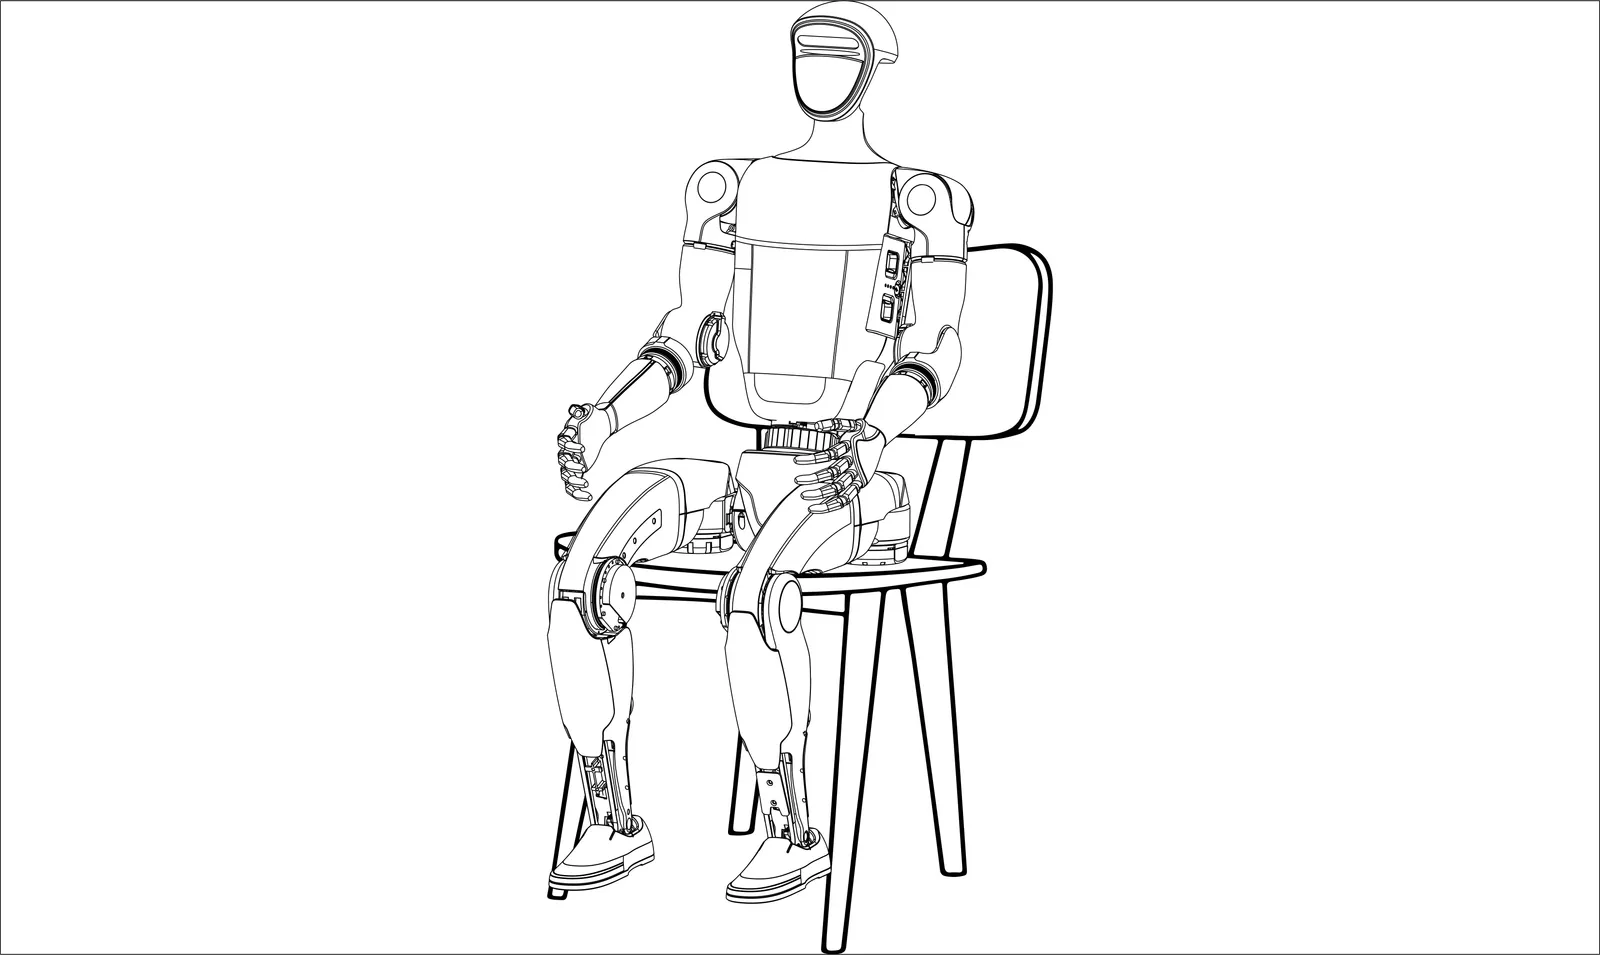
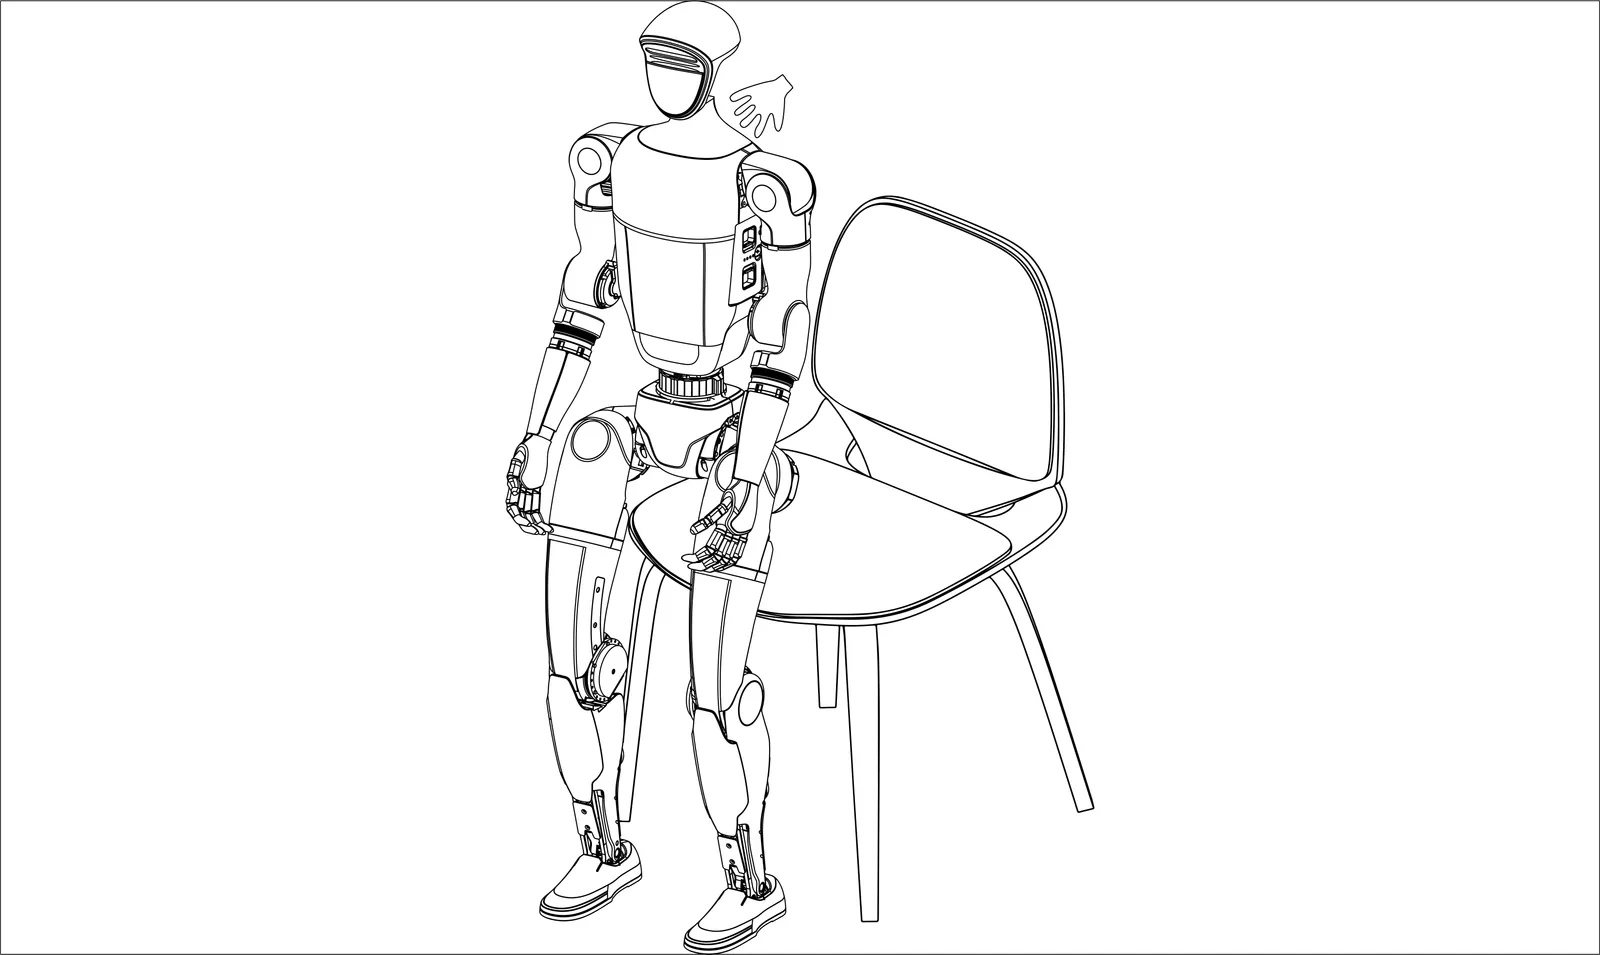
Section titled “Sitting upright and turning on the device”Step1: Body placement If conditions permit, G1 supports booting while sitting in a chair.First, ensure that the G1 is sitting on a chair with arms and legs placed naturally, as shown in the following image.
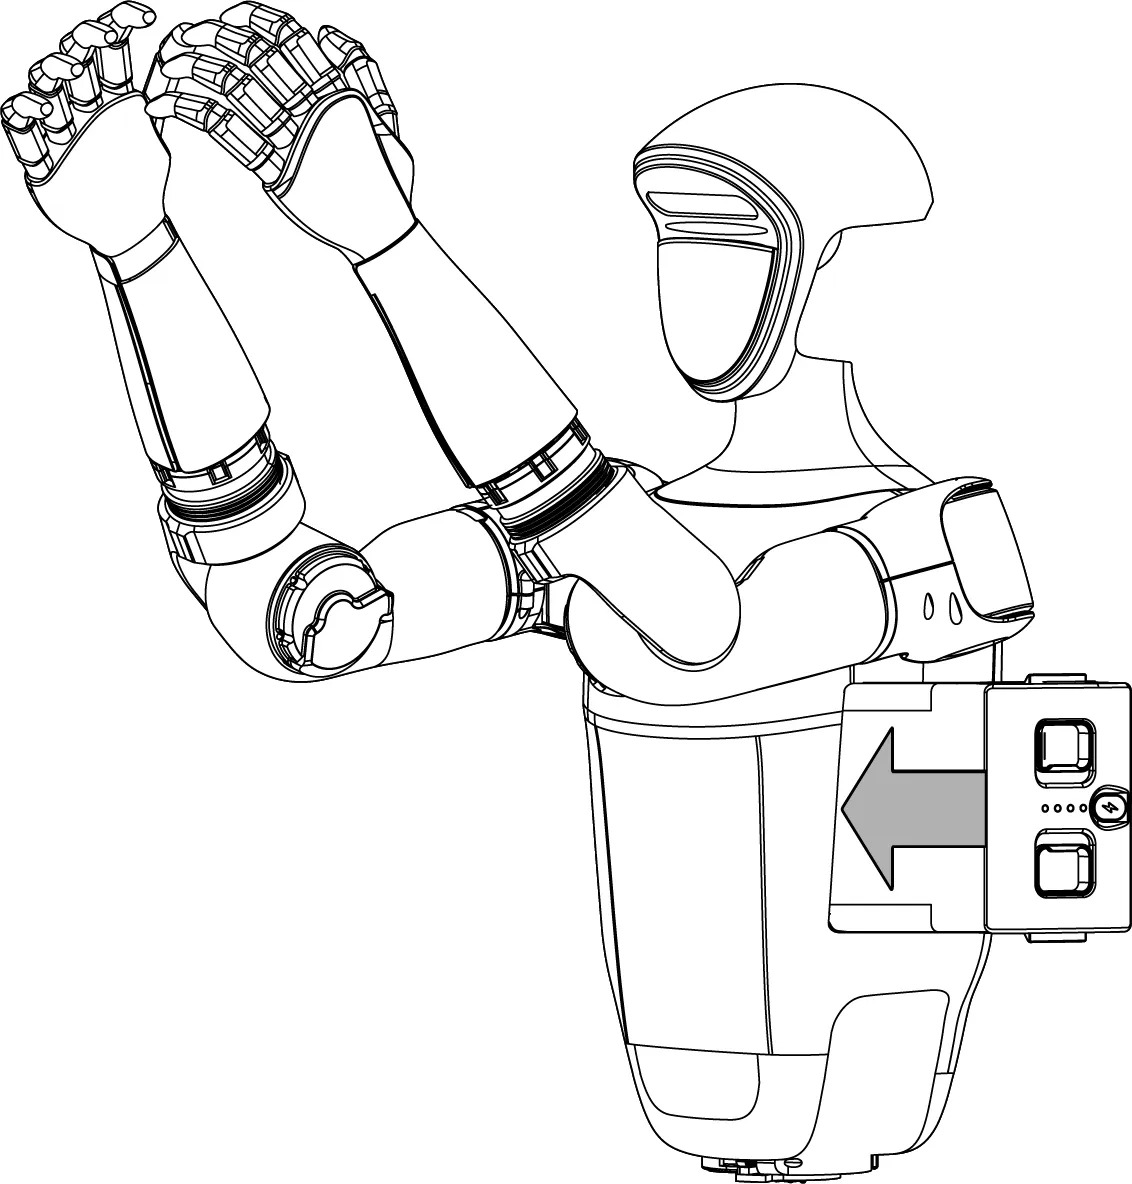
Step2: Install the battery pack
Insert the battery into the battery slot from the side of the fuselage, pay attention to the installation direction, do not force pressure, so as to avoid damage to the battery interface and clap, when you hear the “click ~” sound, the battery pack is installed.
| Insert battery | Power on |
|---|---|
 |
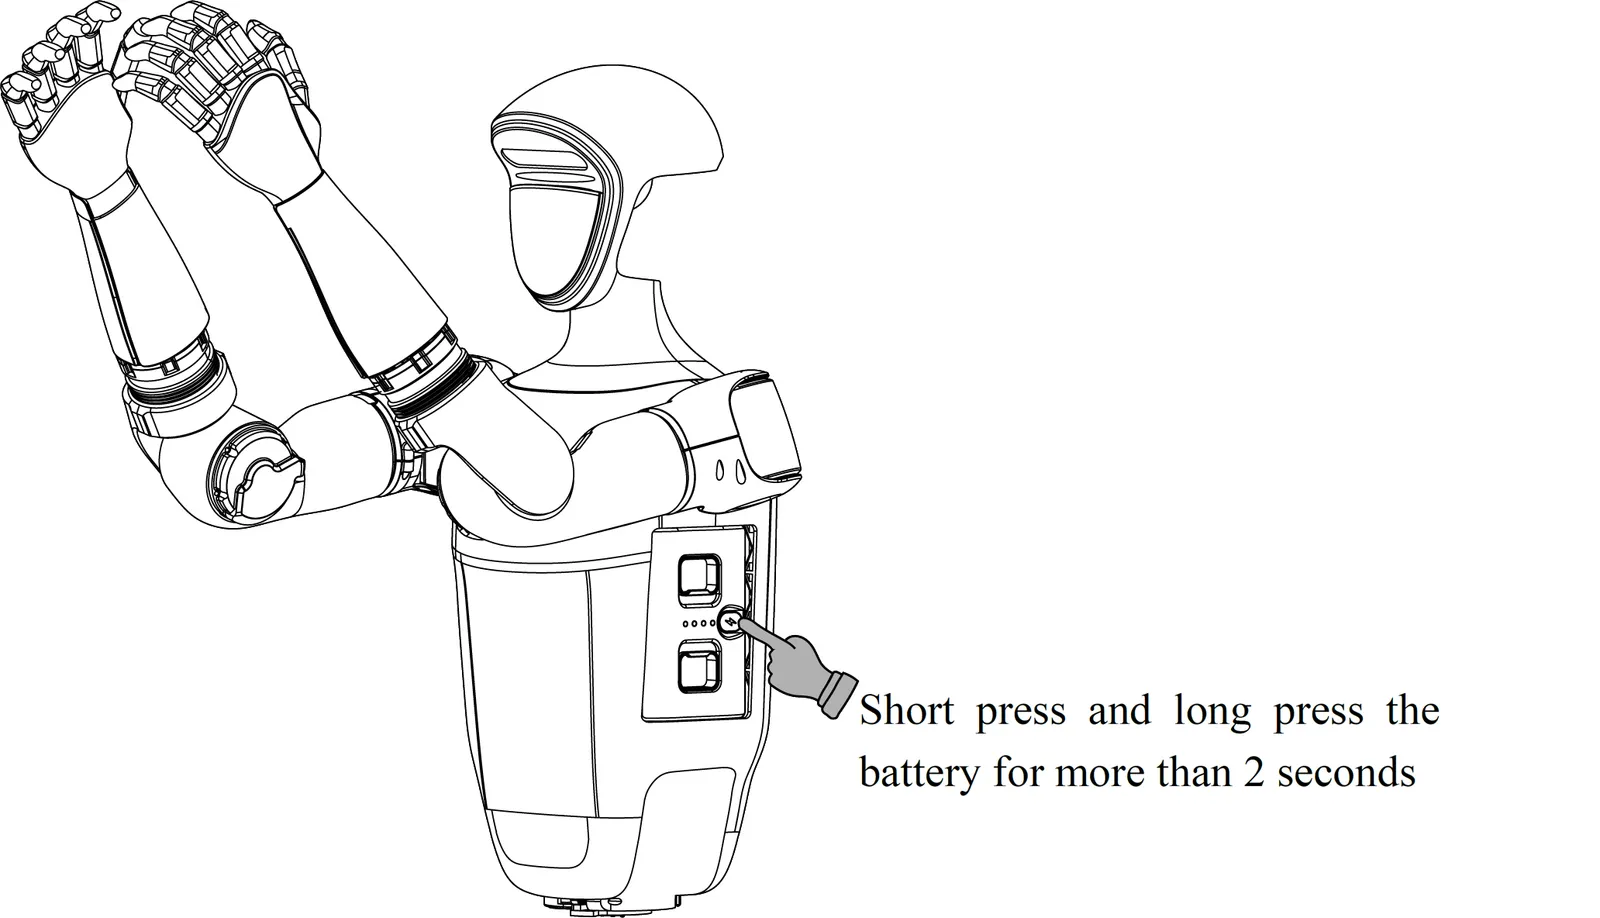 |
Step3: Successfully boot
After short pressing and long pressing the power button to turn on the machine, wait for about 1 minute until G1 enters the zero torque state. Press L1 + A to enter the damping state. At this point, hold the G1 shoulder and press the L1+UP button to help G1 enter the ready state, as shown in the following figure.After G1 is straightened and standing, you can press R1 + X(1 degree of freedom waist) or R1 + Y(3 degrees of freedom waist) to enter the operation control state.
Hanging and turning on
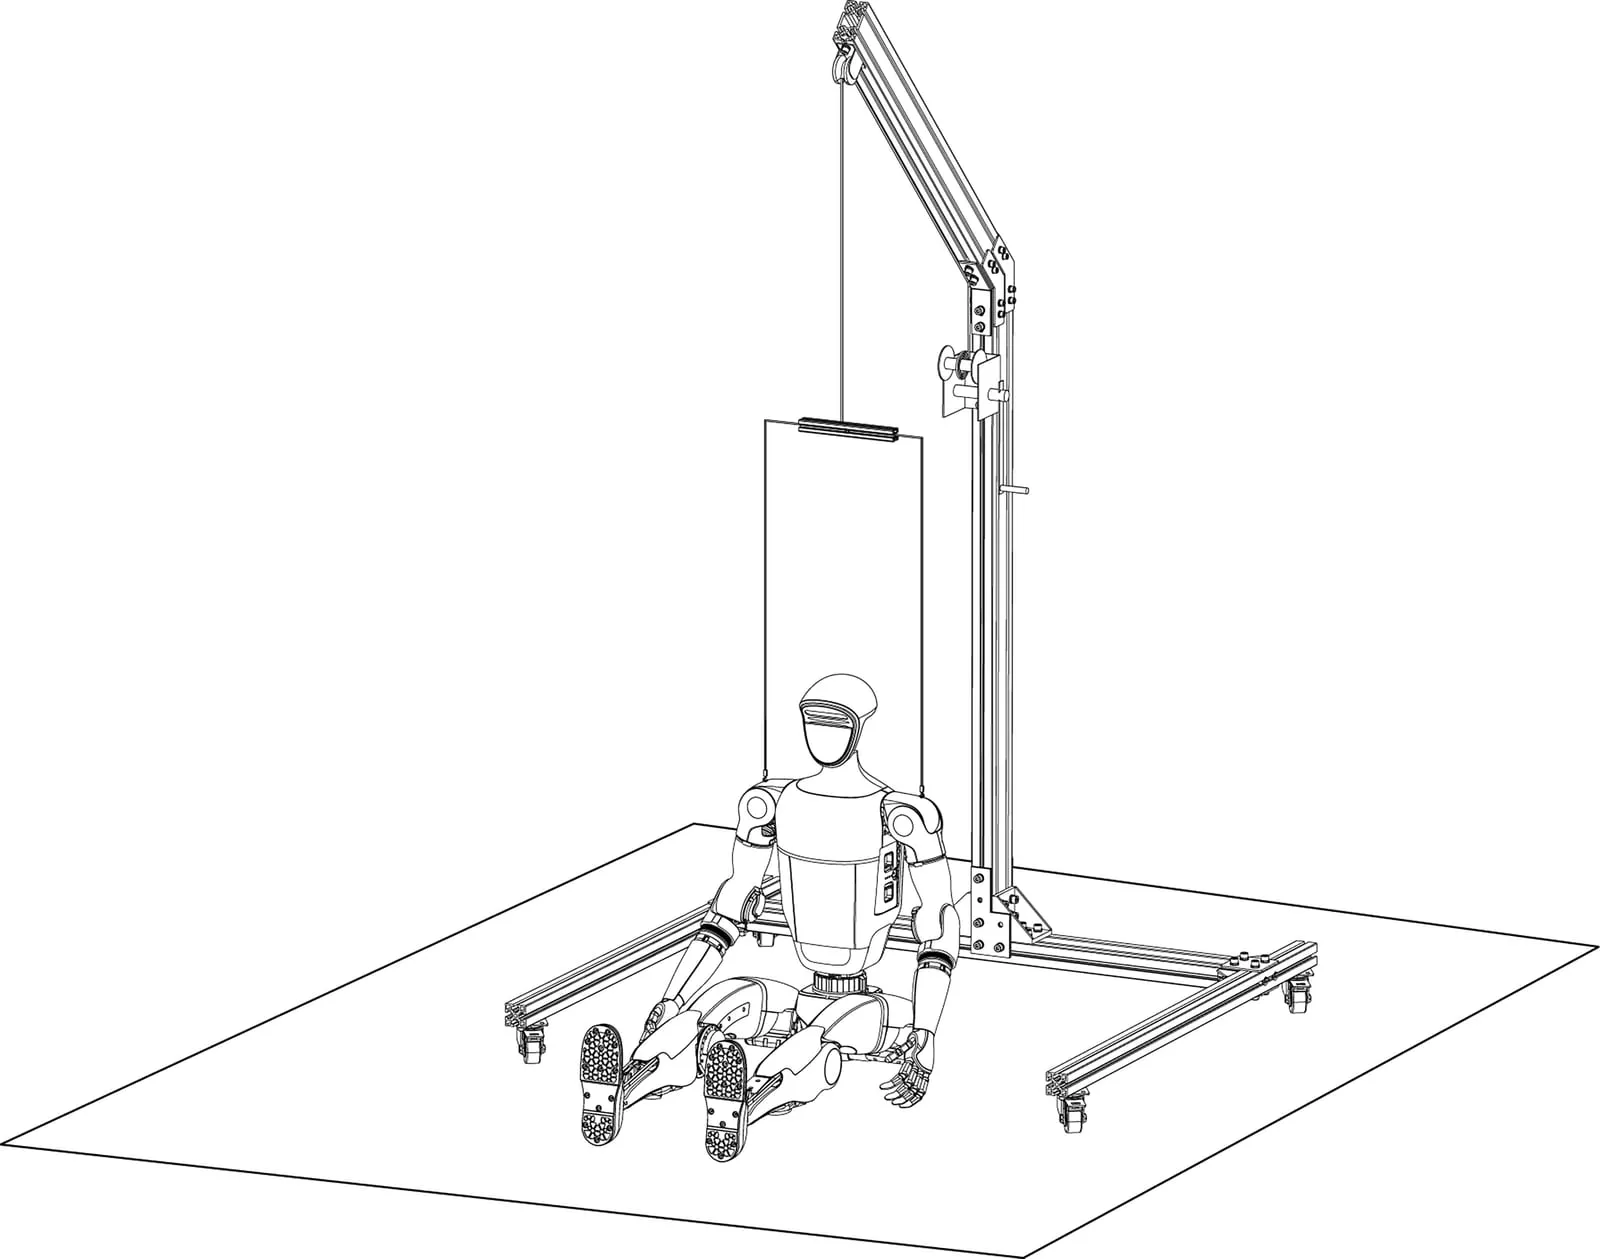
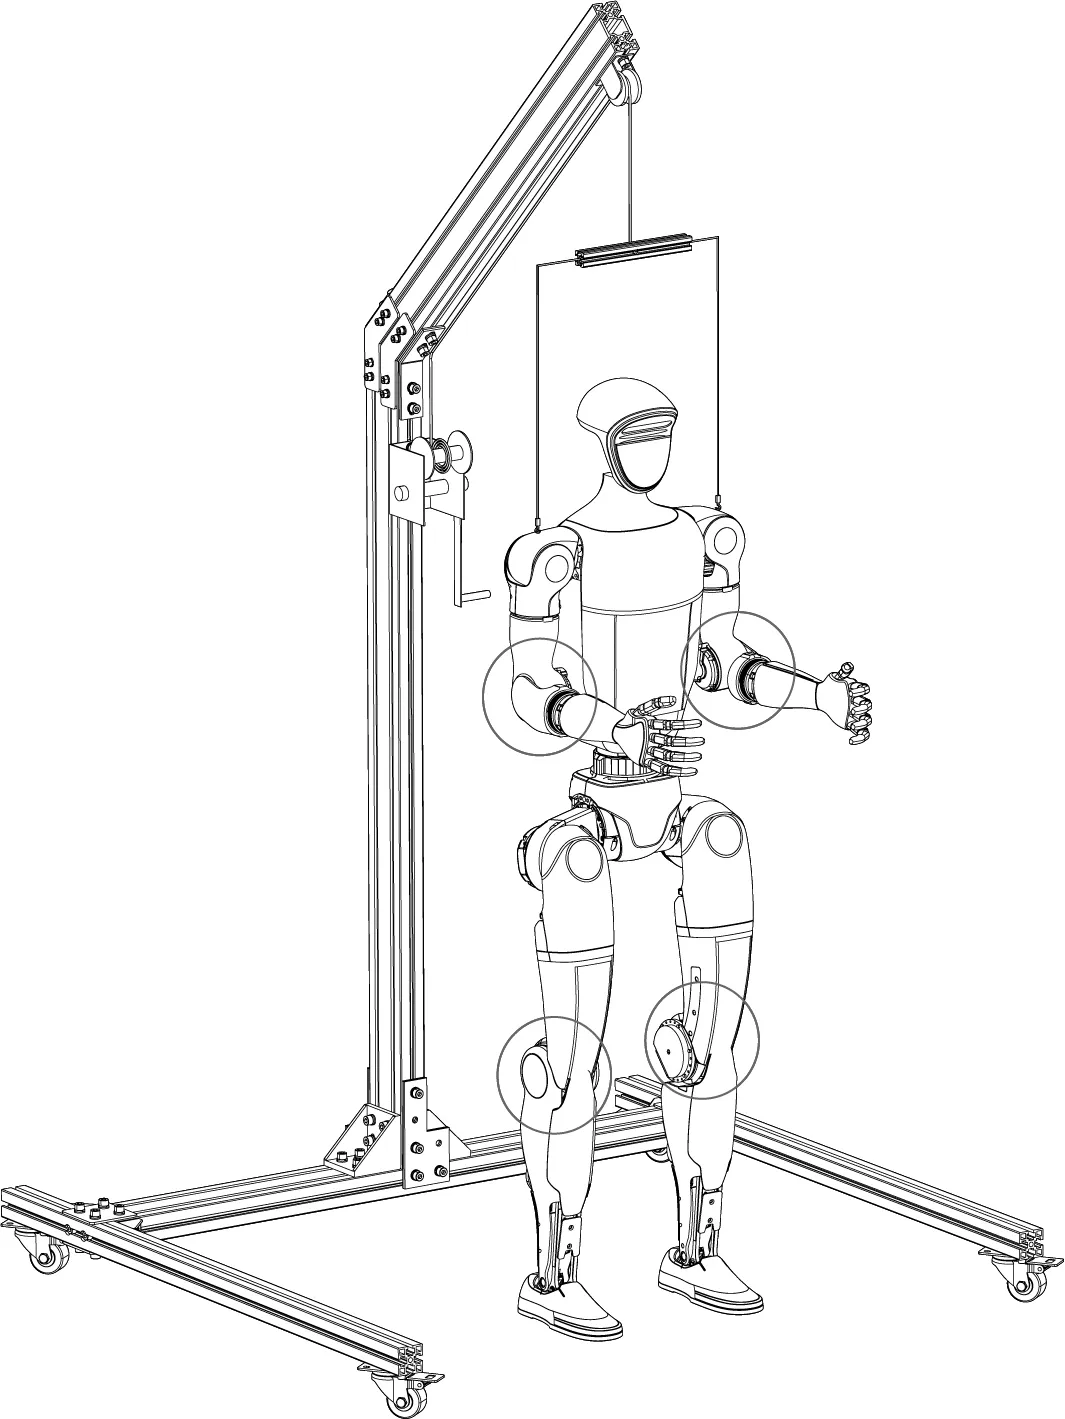
Section titled “Hanging and turning on”Step1: Suspension G1
Please use the protective rack to hang the G1 to ensure safety.
Step2: Install the battery pack
Insert the battery into the battery slot from the side of the fuselage, pay attention to the installation direction, do not force pressure, so as to avoid damage to the battery interface and clap, when you hear the “click ~” sound, the battery pack is installed.
| Insert battery | Power on |
|---|---|
|
 |
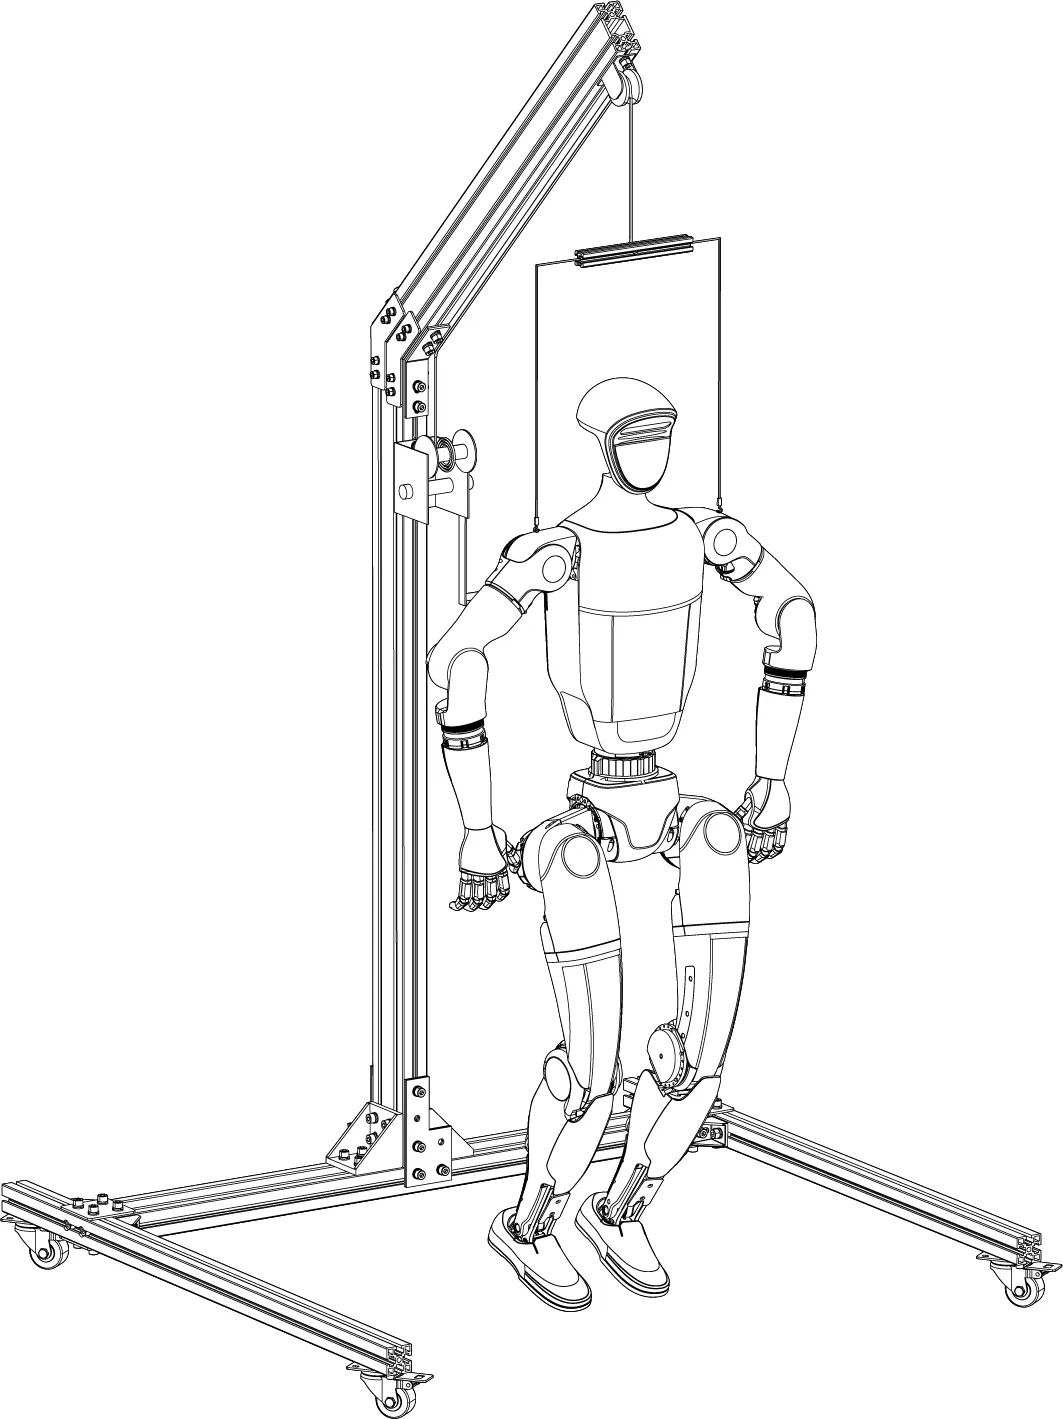
Step3: Body placement
After hanging G1, put it in its natural position.
Step4: Power boot
Short press the power switch key of the battery once, and then long press the power switch key for more than 2 seconds to power on the battery.
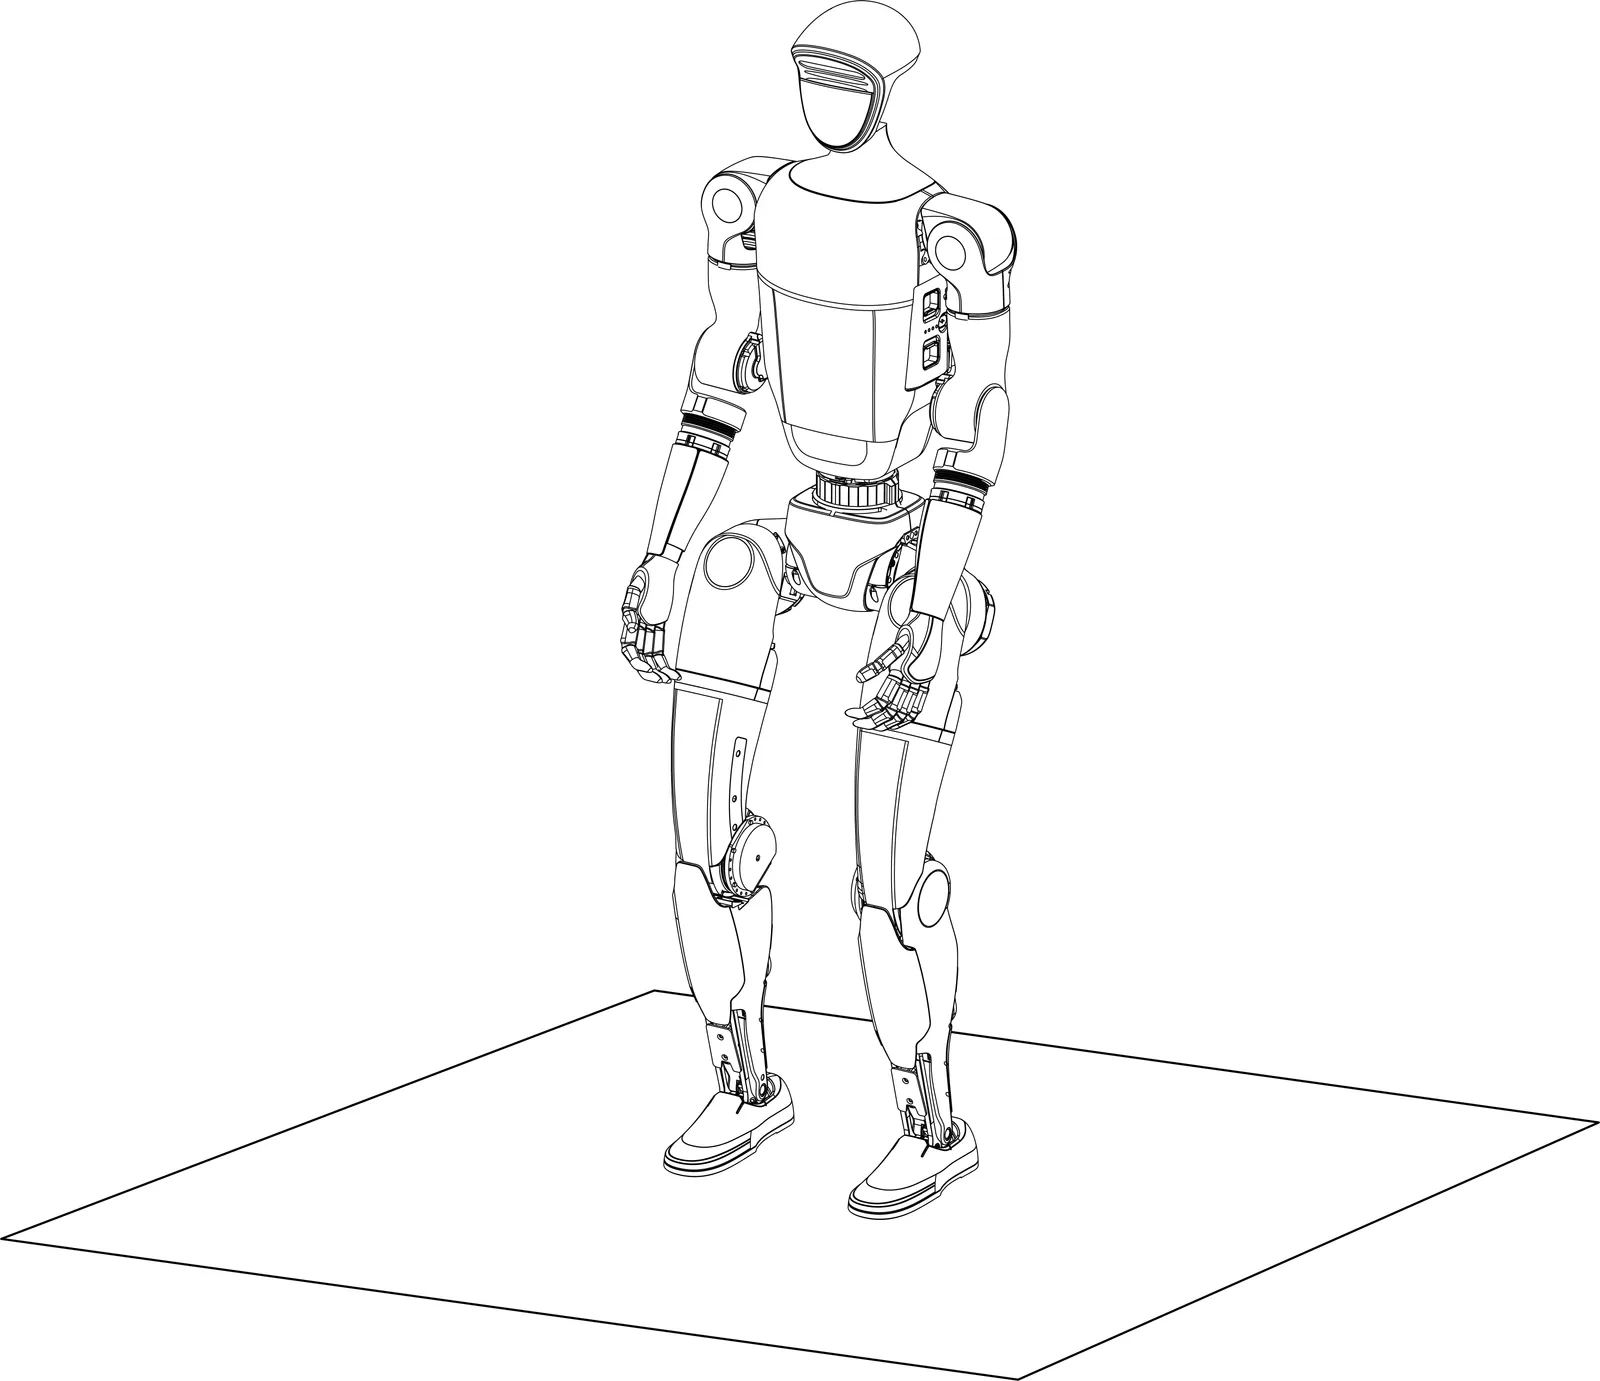
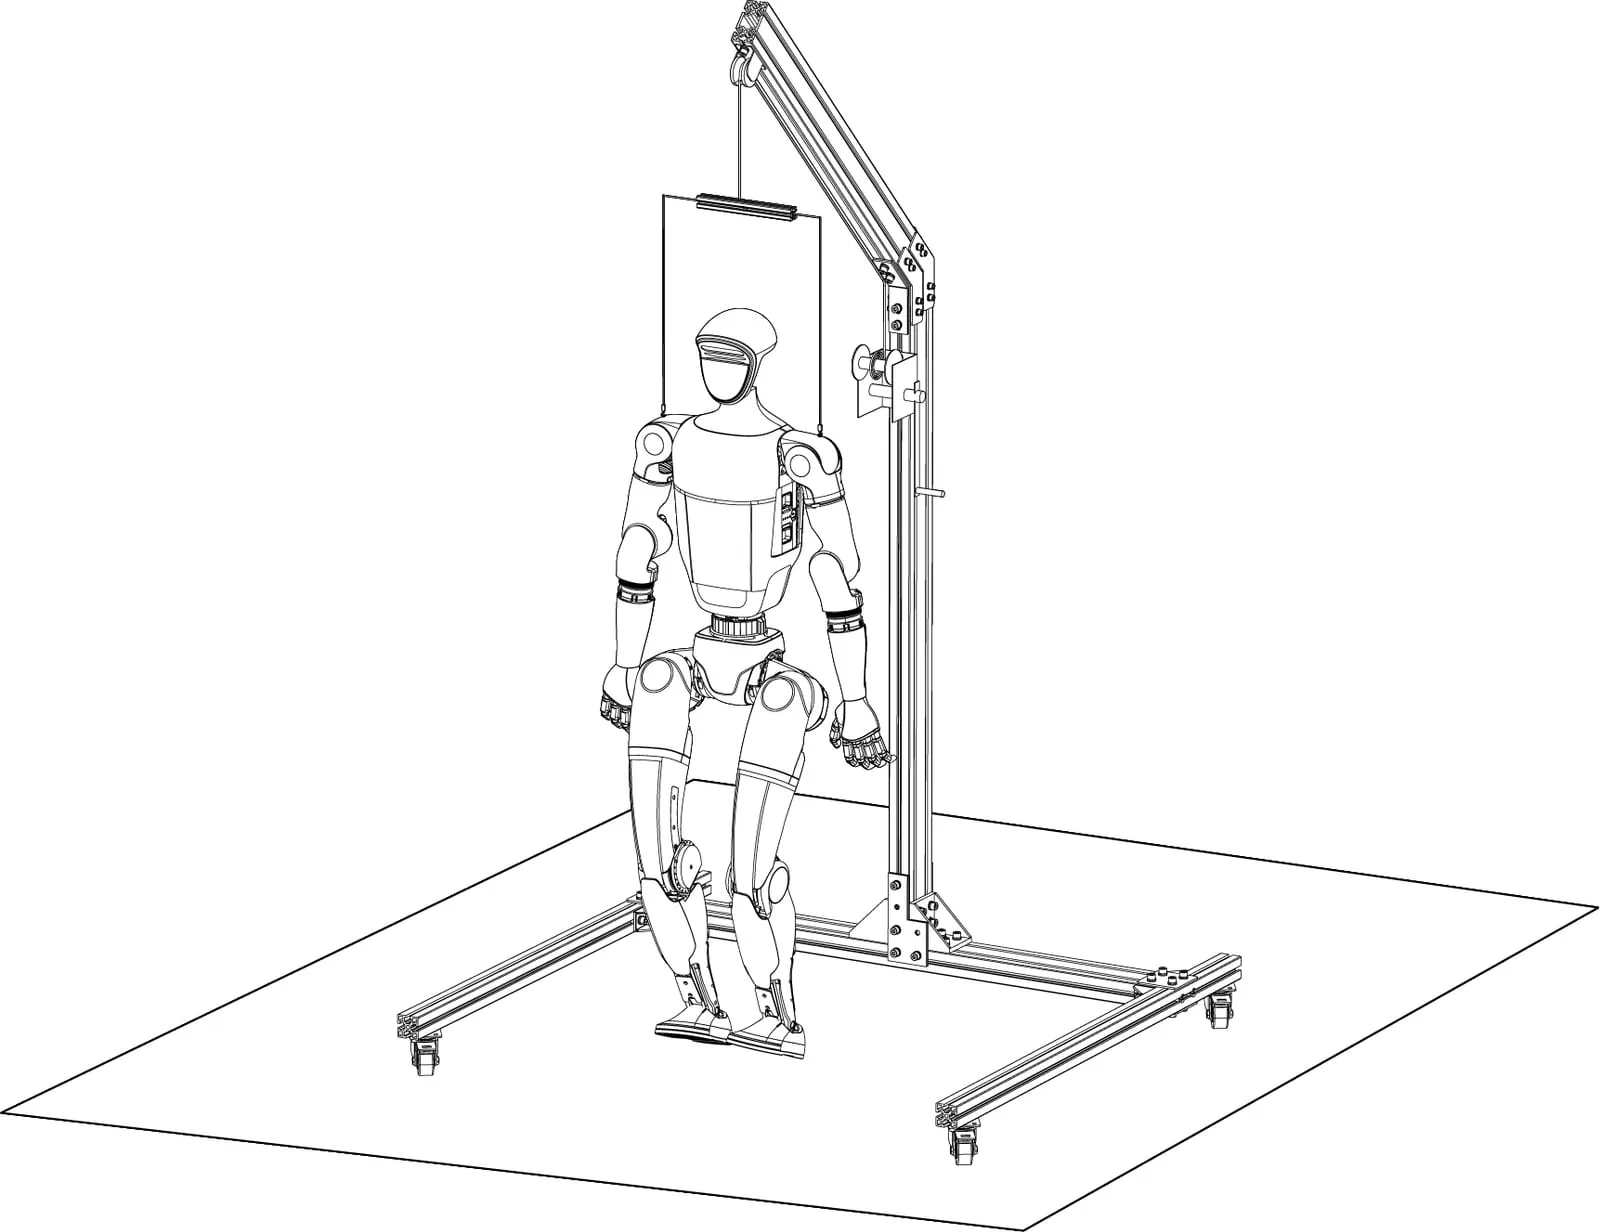
Step5: Successful boot-up
The whole boot process lasts for about 1 minute, please wait patiently. When the ankle hit the limit sound, the initialization is successful. Please wait another 30 seconds, press the remote control L2 + B to enter the damping to unlock the control, and then press L2 + UP to enter the preparatory state. The G1 posture is shown in the figure below.
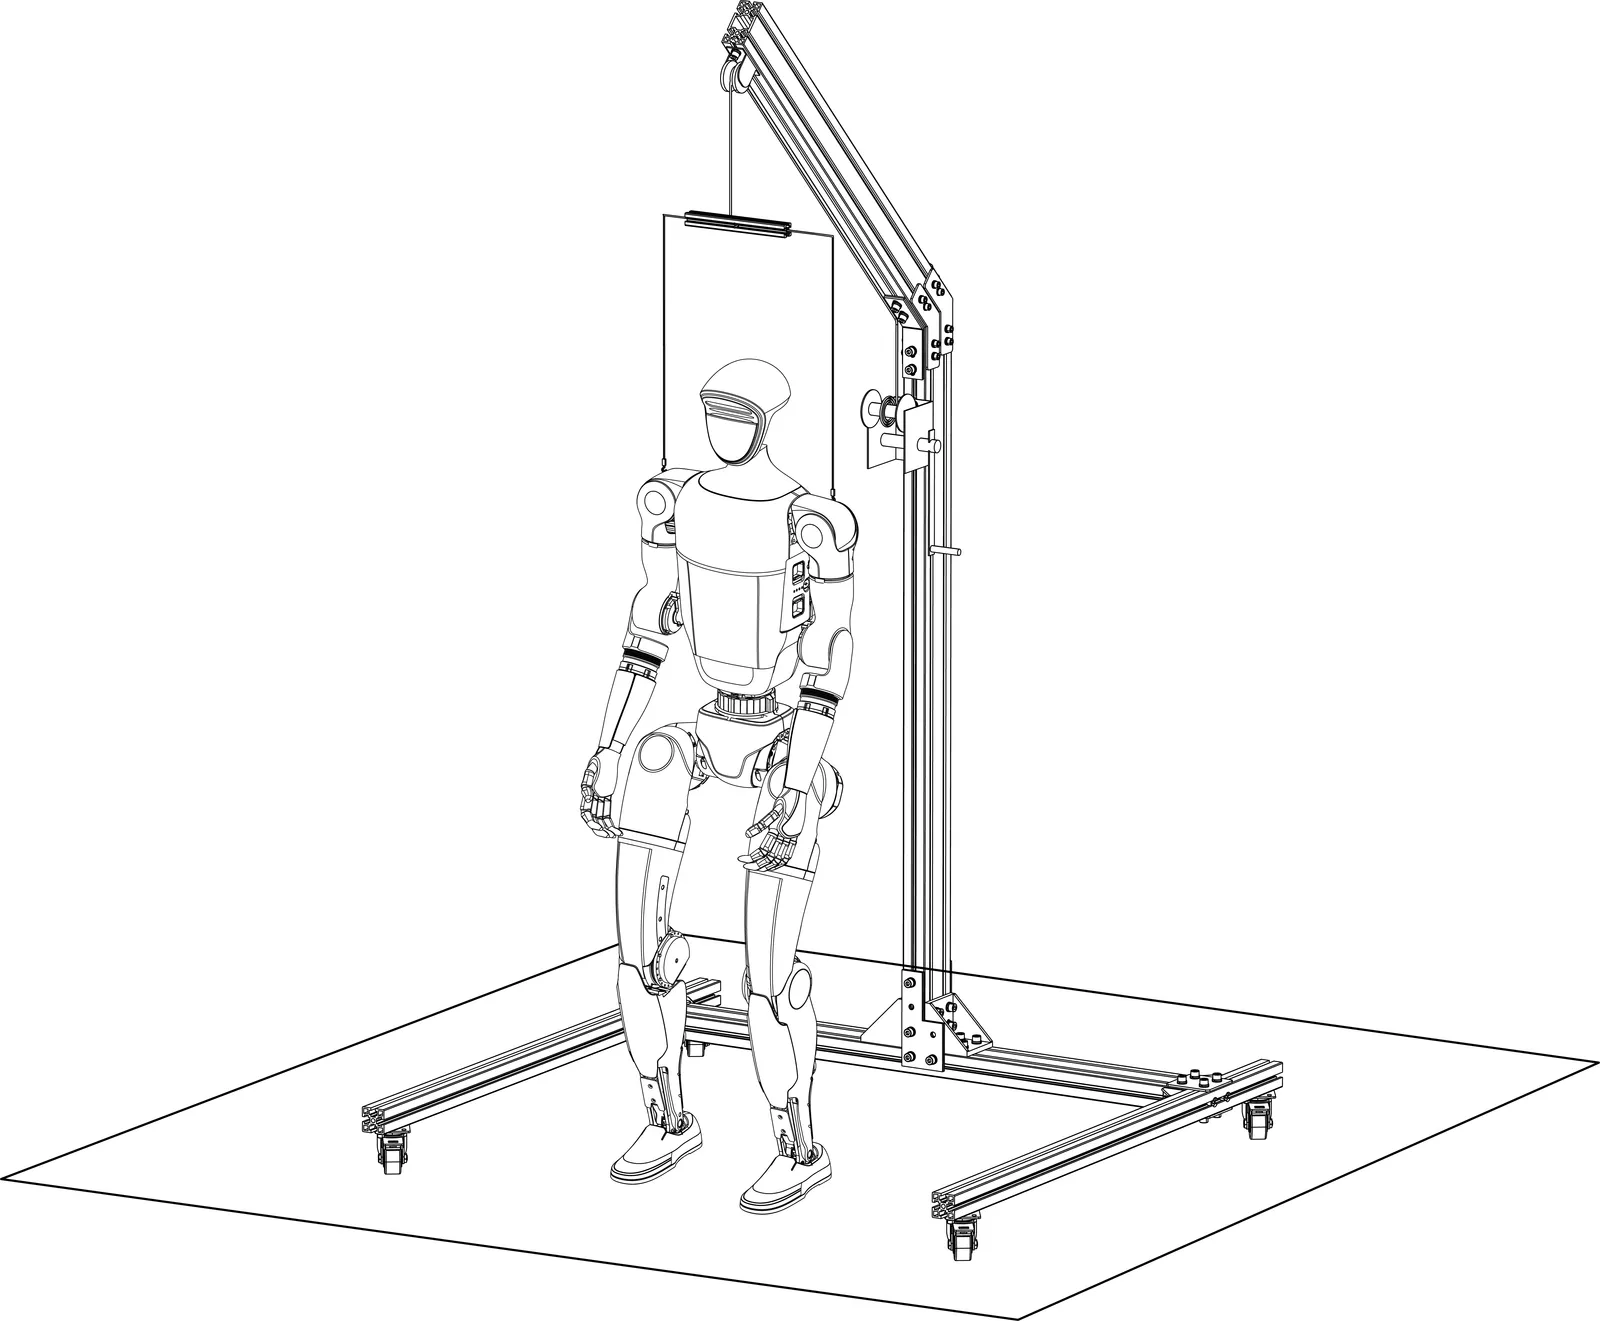
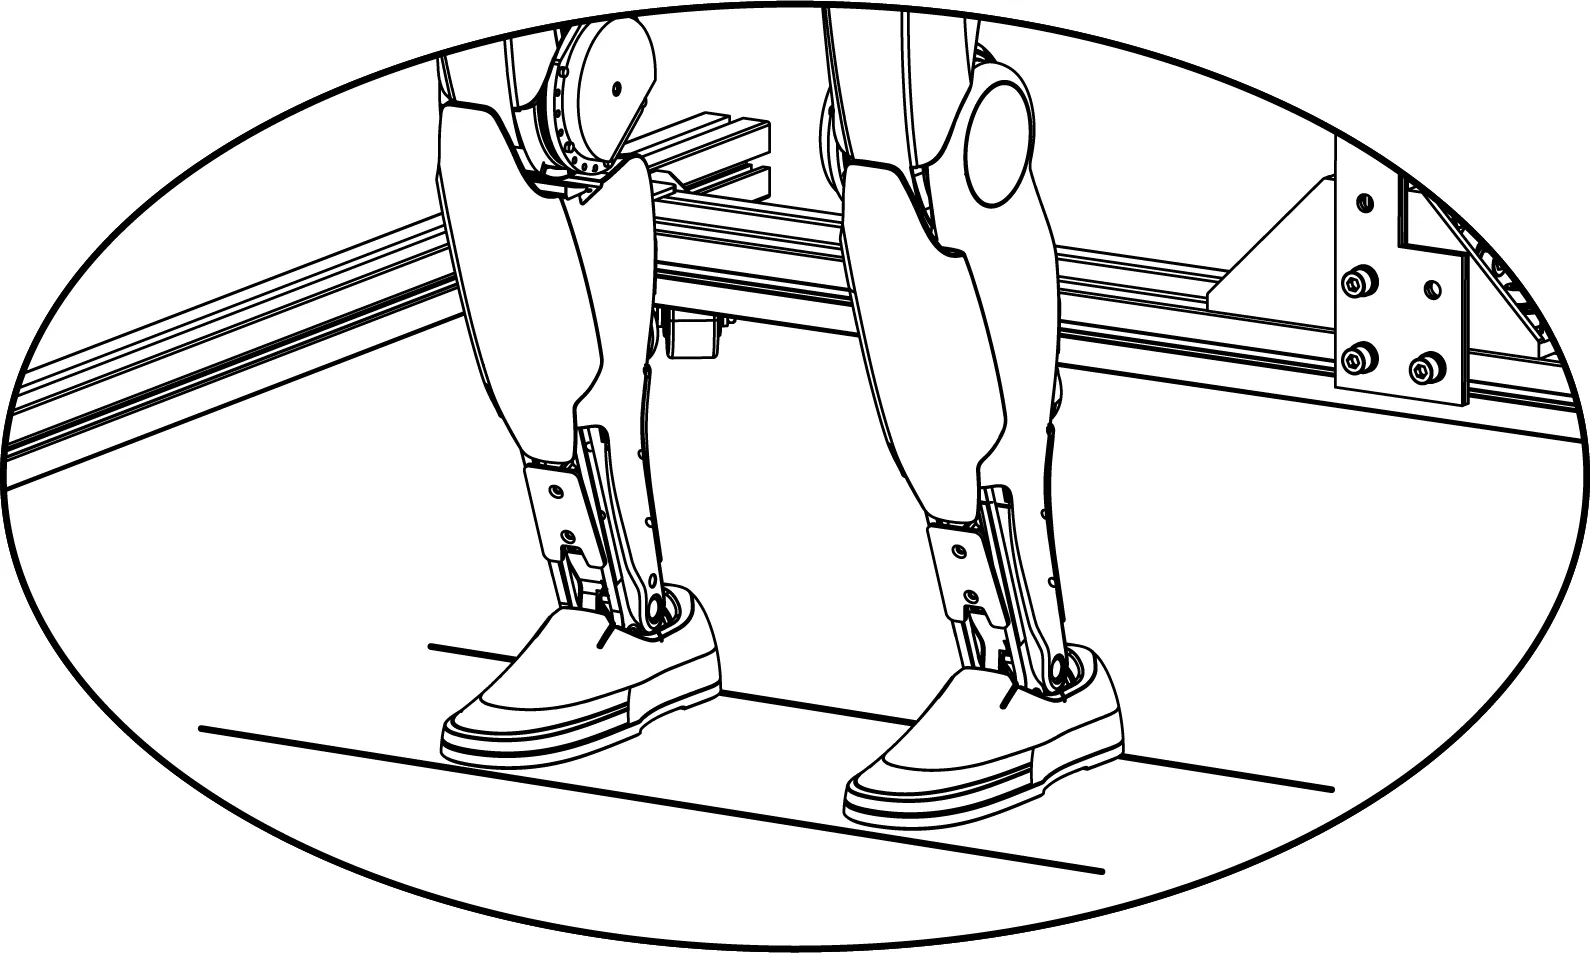
Step6: Down suspension rope
After descending the suspension rope, the G1 feet touch the ground. Press the R2 + A of the remote control again, and then the control program starts, G1 enters the movement state from the preparatory state, G1 starts to adjust its gait and stand.
Step7: Untie the suspension rope
After the G1 movement is stabilized, the hook can be completely released. At this time, the left and right joystick control G1 movement.
Press START on the remote control to control the G1 to switch between standing and walking states.
Debug mode
Section titled “Debug mode”When G1 is suspended and damping, press the remote control L2 + R2 combination, G1 enters debugging mode. Press L2 + A, G1 will enter the position mode and pose a specific diagnostic position.
Then press L2 + B, G1 to enter the damping state. This process can be used to confirm whether G1 has successfully entered debug mode, or for hardware troubleshooting. You can start developing and debugging with the SDK.
Shutdown process
Section titled “Shutdown process”Sitting and turning off
Section titled “Sitting and turning off”Before shutting down, please control G1 to stand with its back facing in front of the chair, ensuring that the robot is in a stationary state. Hold the shoulder and handle with your hand, press L1+LEFT, and then help G1 sit down. After sitting down, press L1+A, G1 goes into damped mode again.
When the G1 is in damped mode, you can safely shut it down by pressing the extended battery on button.
Hanging shutdown
Section titled “Hanging shutdown”Reconnect G1 to the hook, after the rope is pulling on G1, press L2+B, G1 goes into damped mode again. When the G1 is in damped mode, you can safely shut it down by pressing the extended battery on button, press L2+R2 to enter debug mode, or press L2 + UP to re-enter ready mode.