Instructions For Use Of Waist Fastener
Background on Waist Fastener
Section titled “Background on Waist Fastener”G1-EDU fuselage 29 degrees of freedom version, waist has three degrees of freedom, for most users, the control will be difficult. To this end, Unitree provides you with a waist fastener. When you do not need to control the two waist parallel joints, you can physically lock the two parallel motors through the waist fastener. At the same time, you should enable the waist motor lock function on the Unitree Explore APP. The details are as follows:
Item List
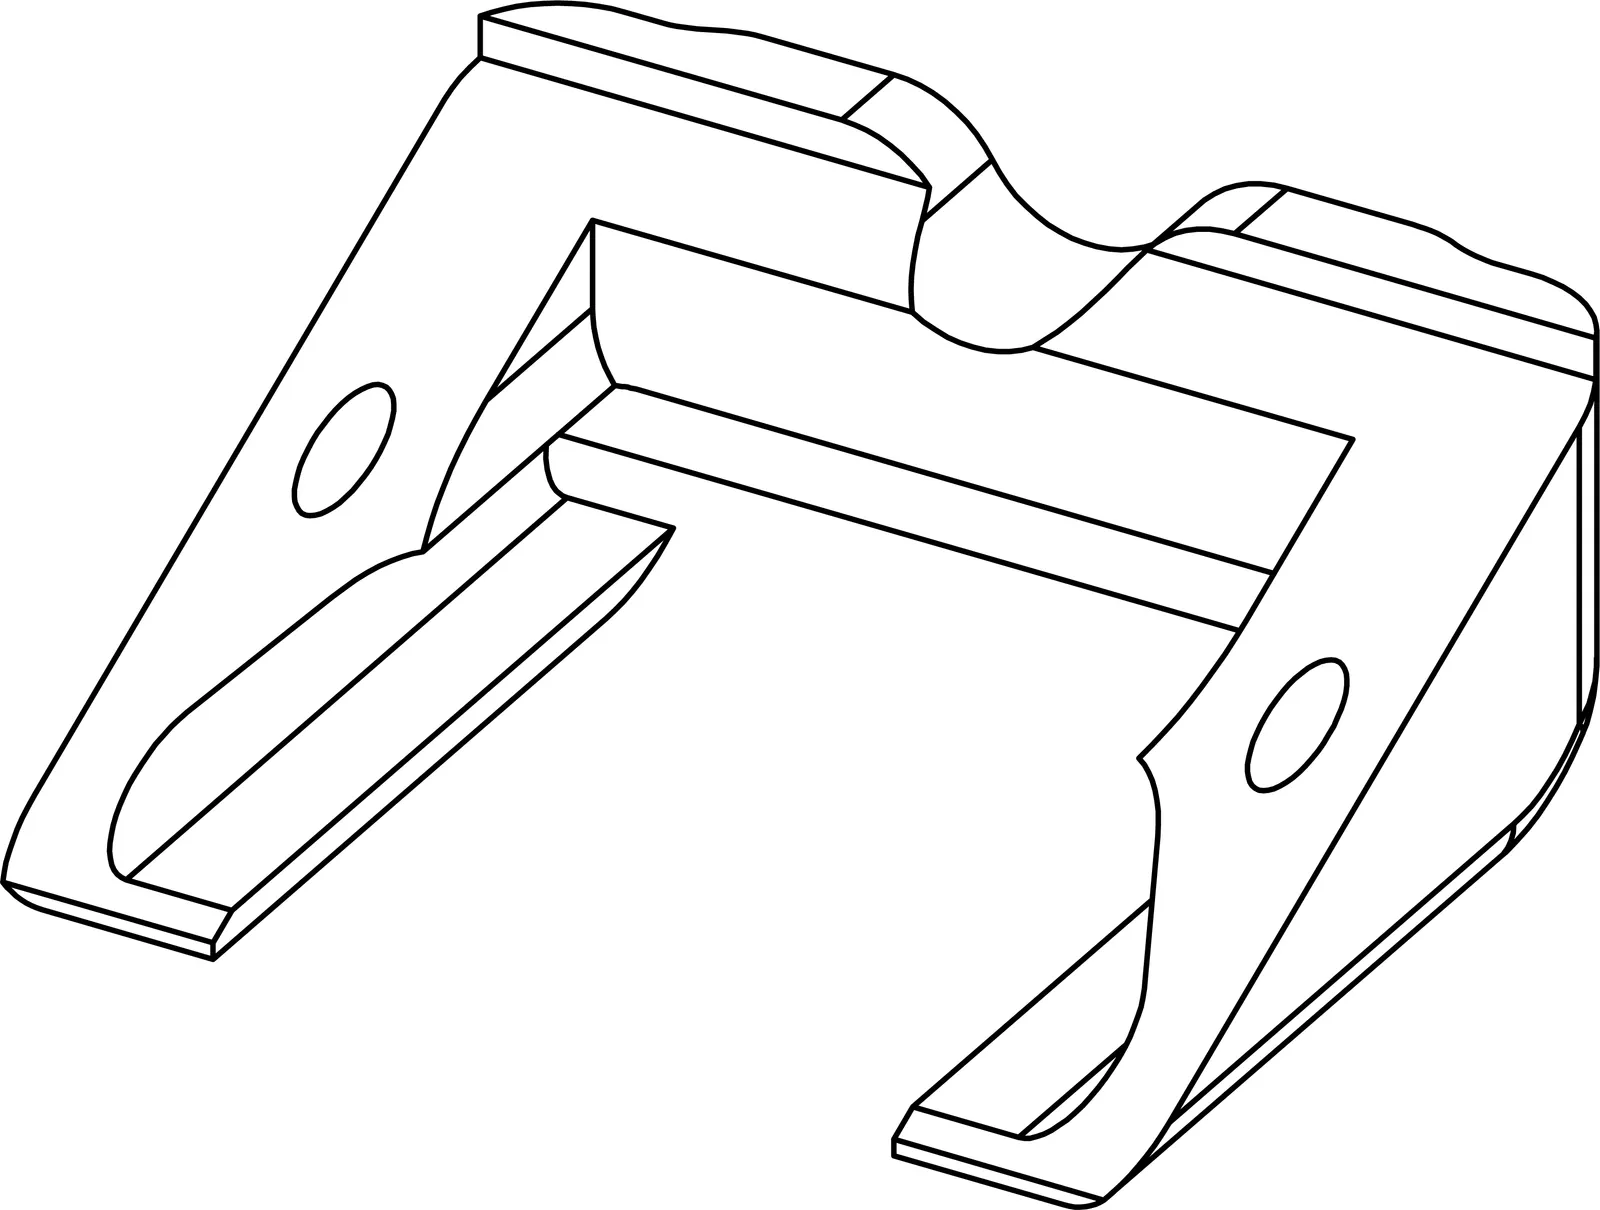
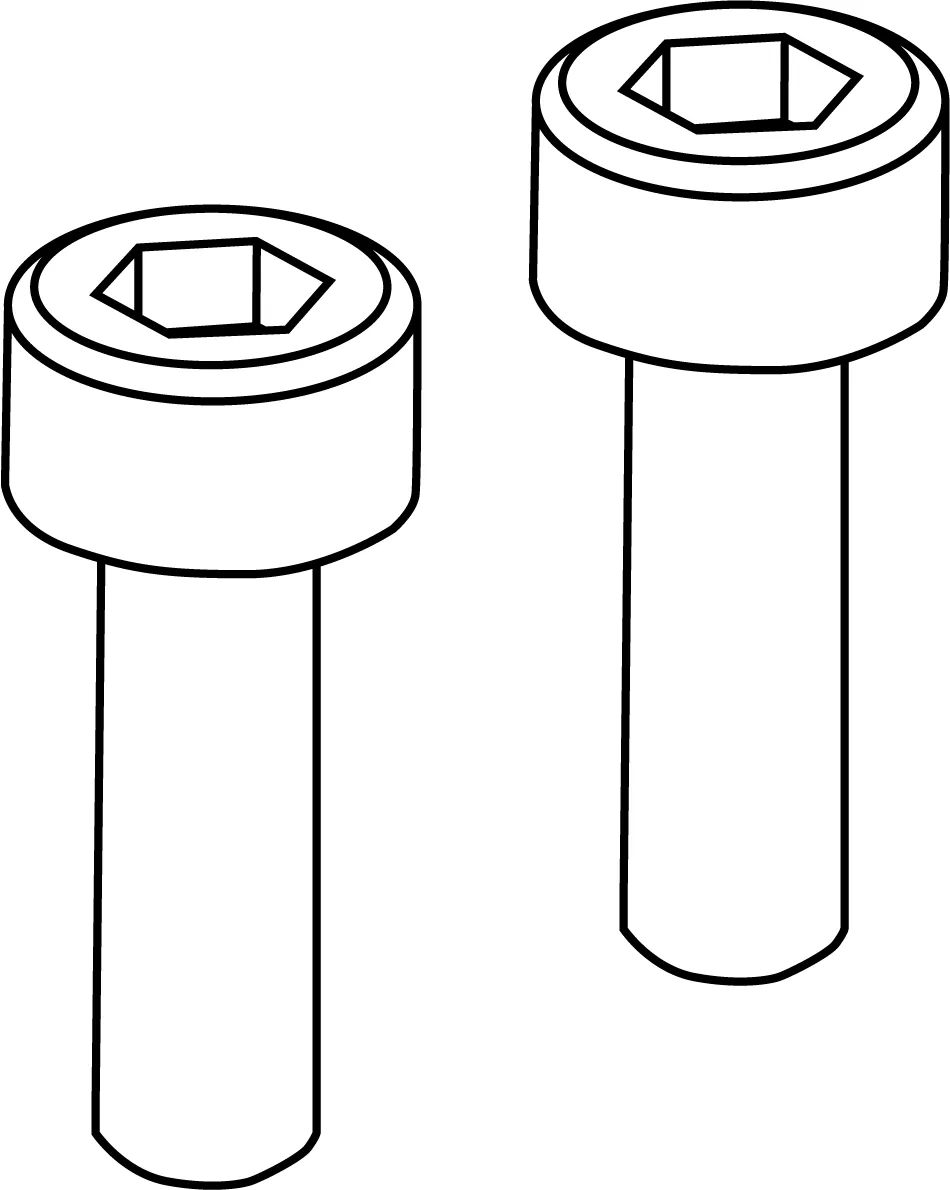
Section titled “Item List”| Waist Fixing Part 1 | Waist Fixing Part 2 | M5 Screw * 2 | Internal hexagonal L-shaped wrench |
|---|---|---|---|
 |
 |
 |
 |
Installation Instructions
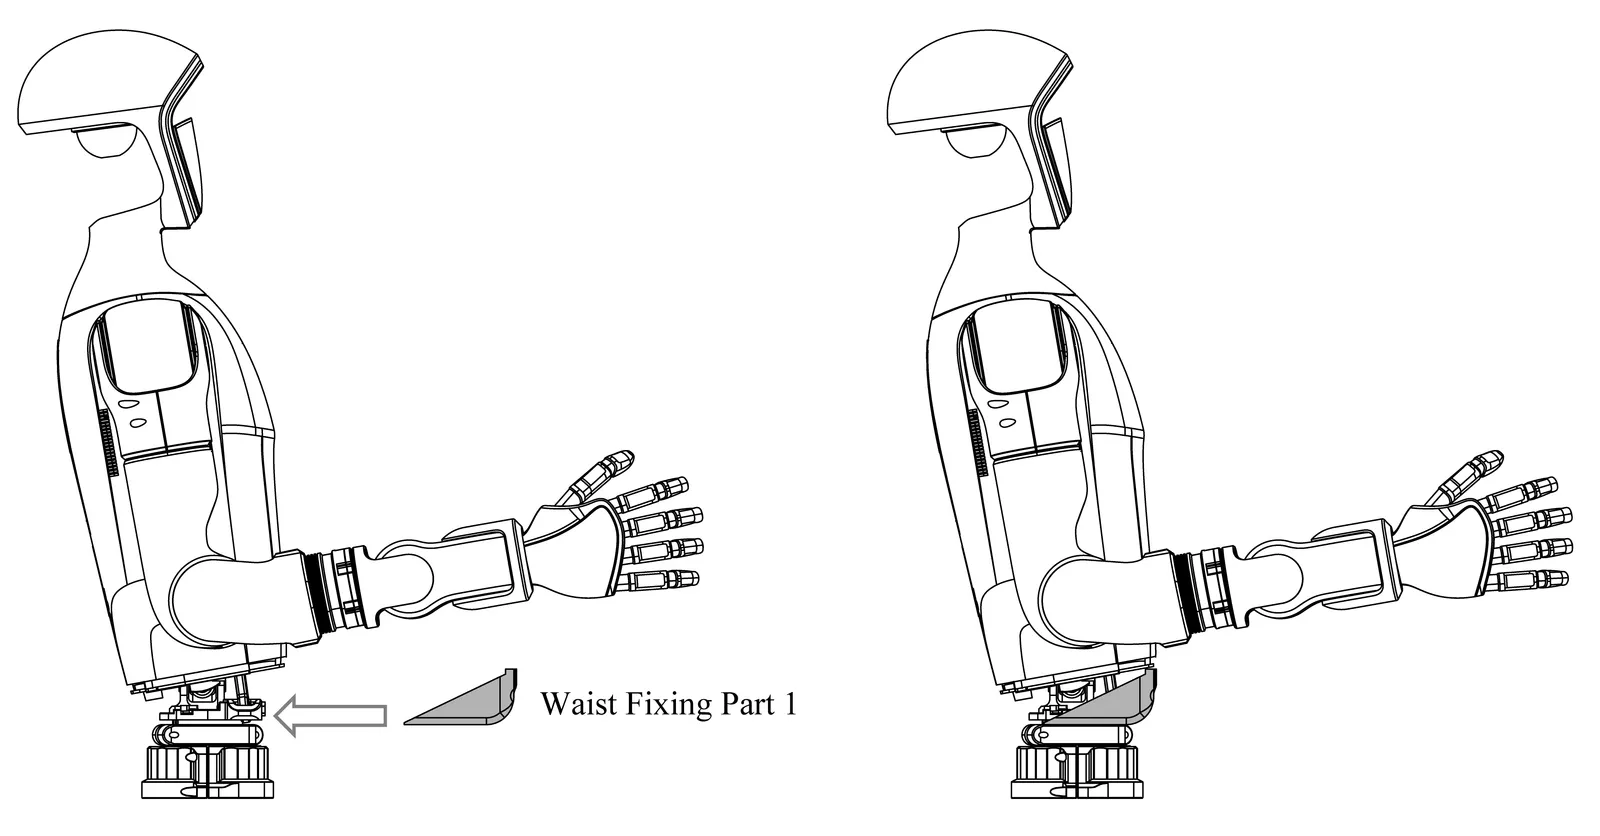
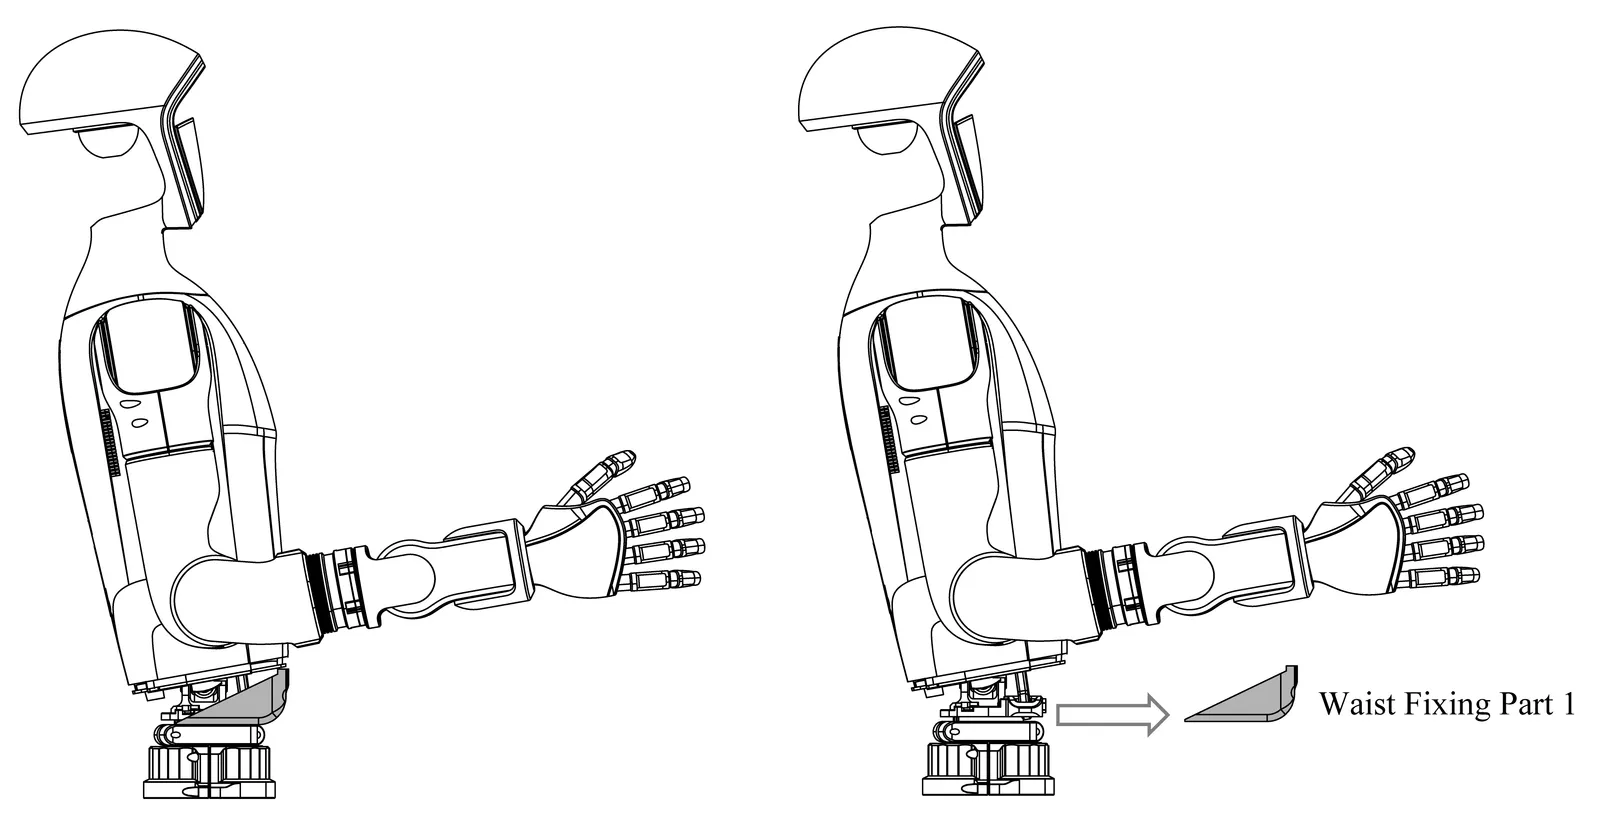
Section titled “Installation Instructions”Step1: Install the waist fixing part 1
Section titled “Step1: Install the waist fixing part 1”First, turn the G1 body back and place the waist fixture 1 in the position shown in the figure.
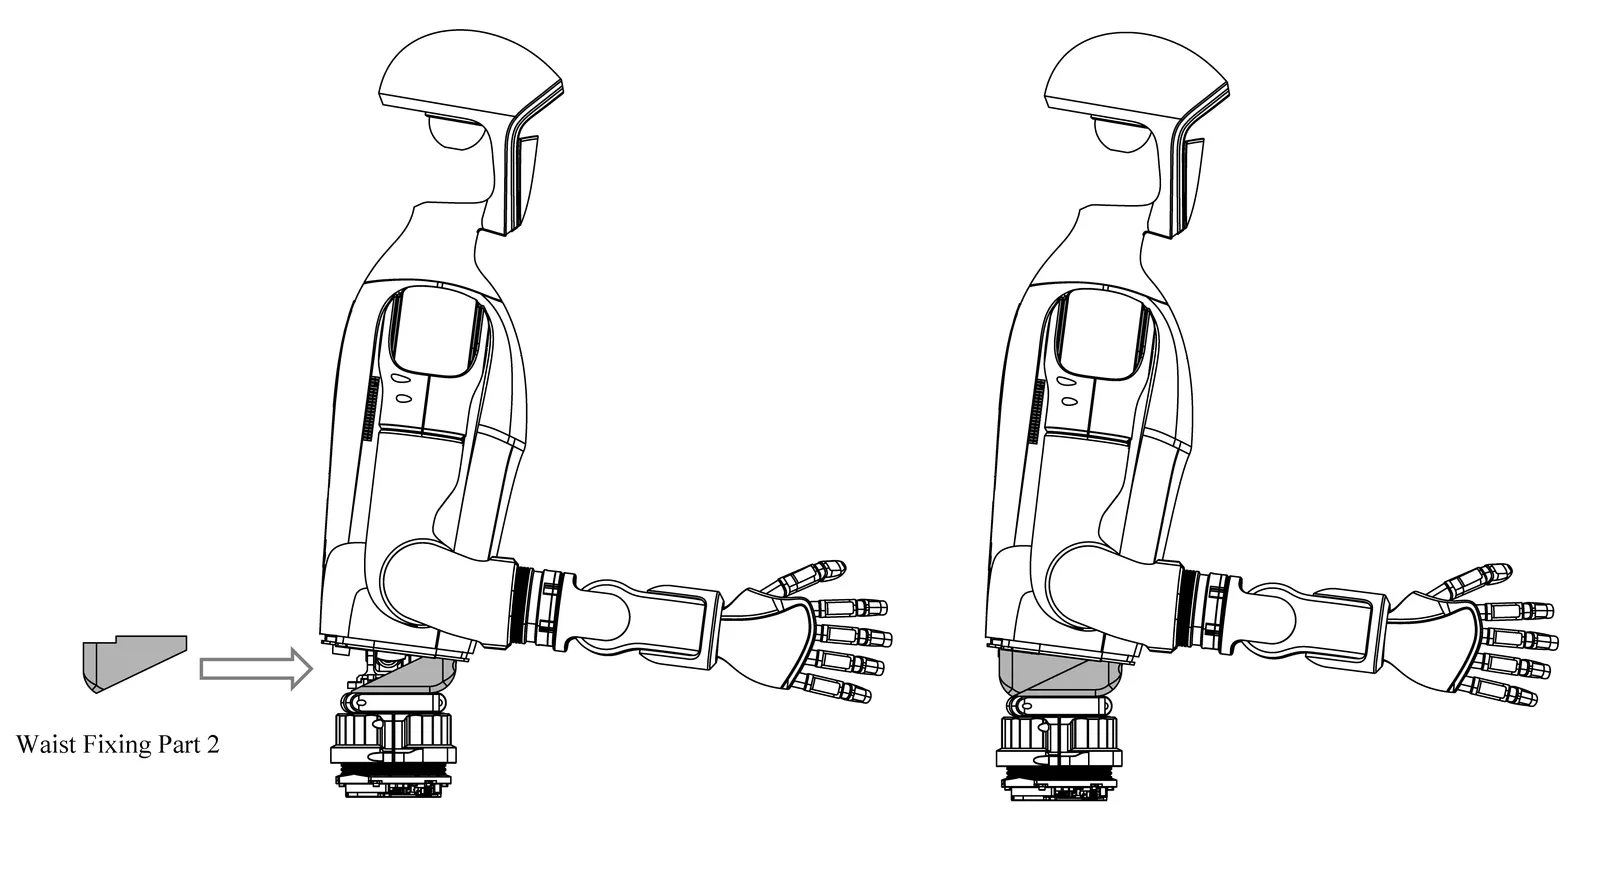
Step2: Install the waist fixing part 2
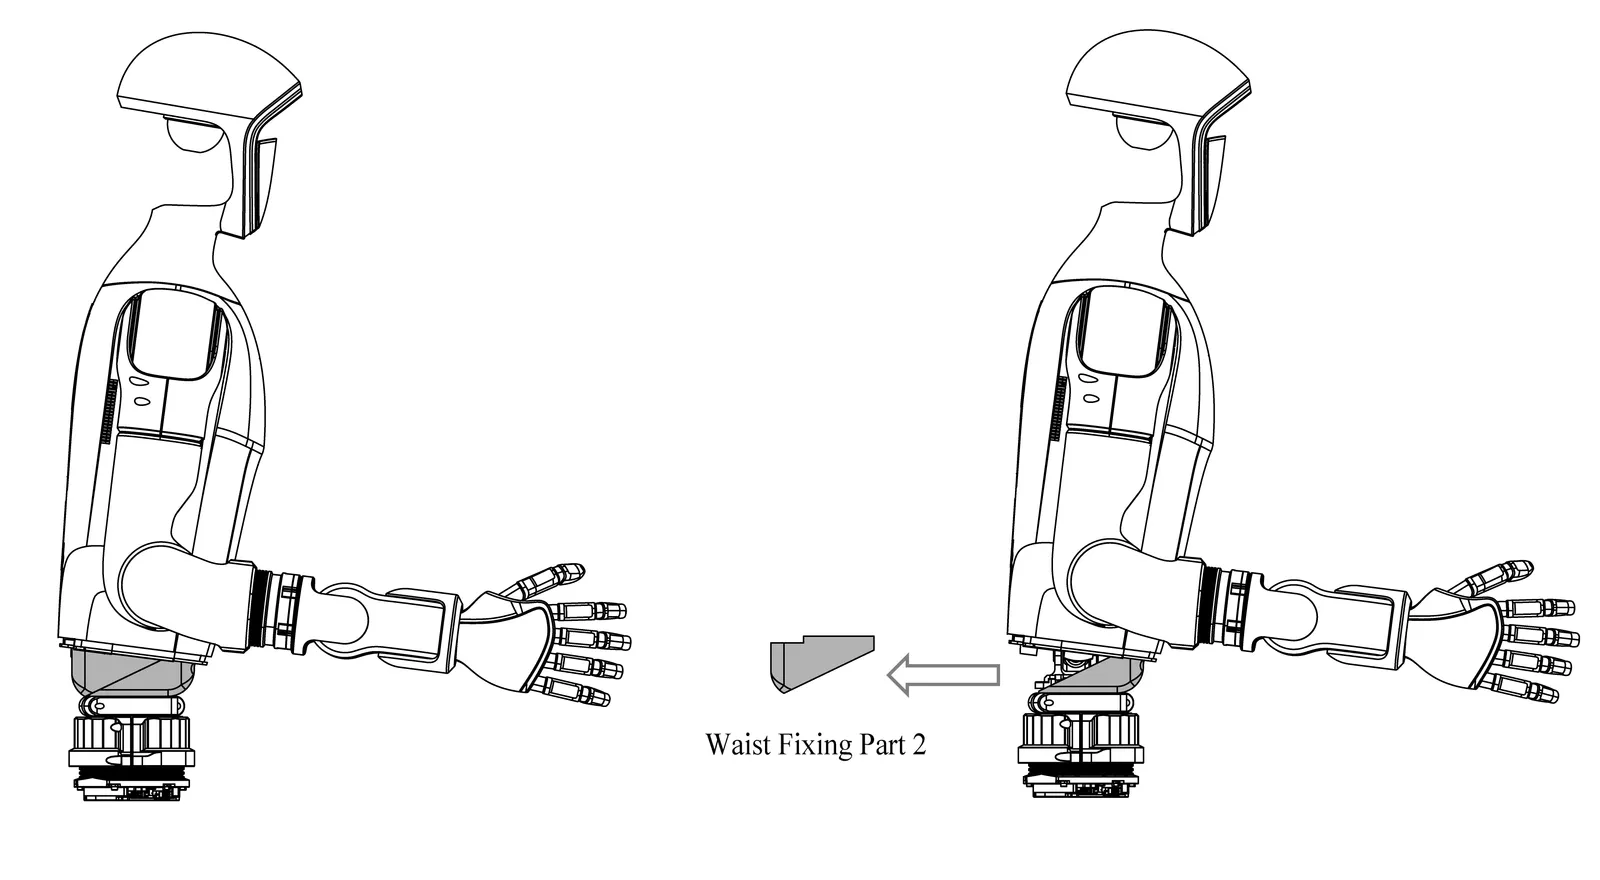
Section titled “Step2: Install the waist fixing part 2”After placing the waist fixture 1, turn the G1 body forward and place the waist fixture 2 in the position shown in the figure.
Step3: Fix
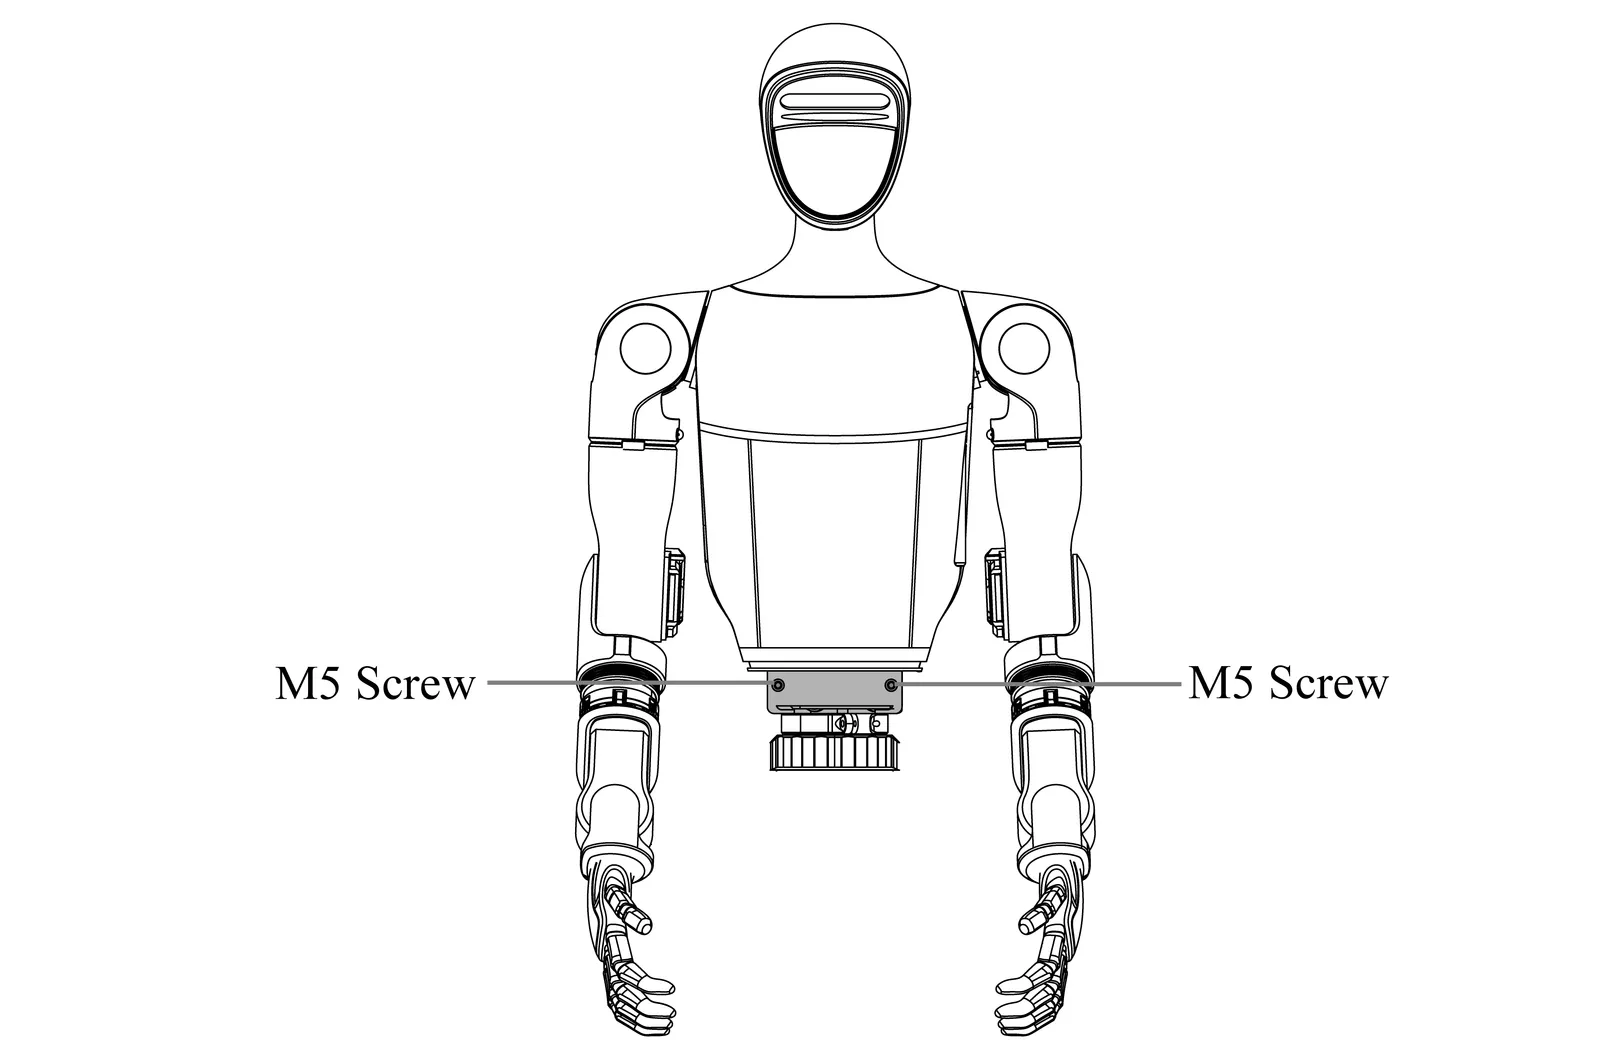
Section titled “Step3: Fix”Use an Allen wrench to secure the two M5 screws to the waist fixture, and then tighten them.
Step4: Installation completed
Section titled “Step4: Installation completed”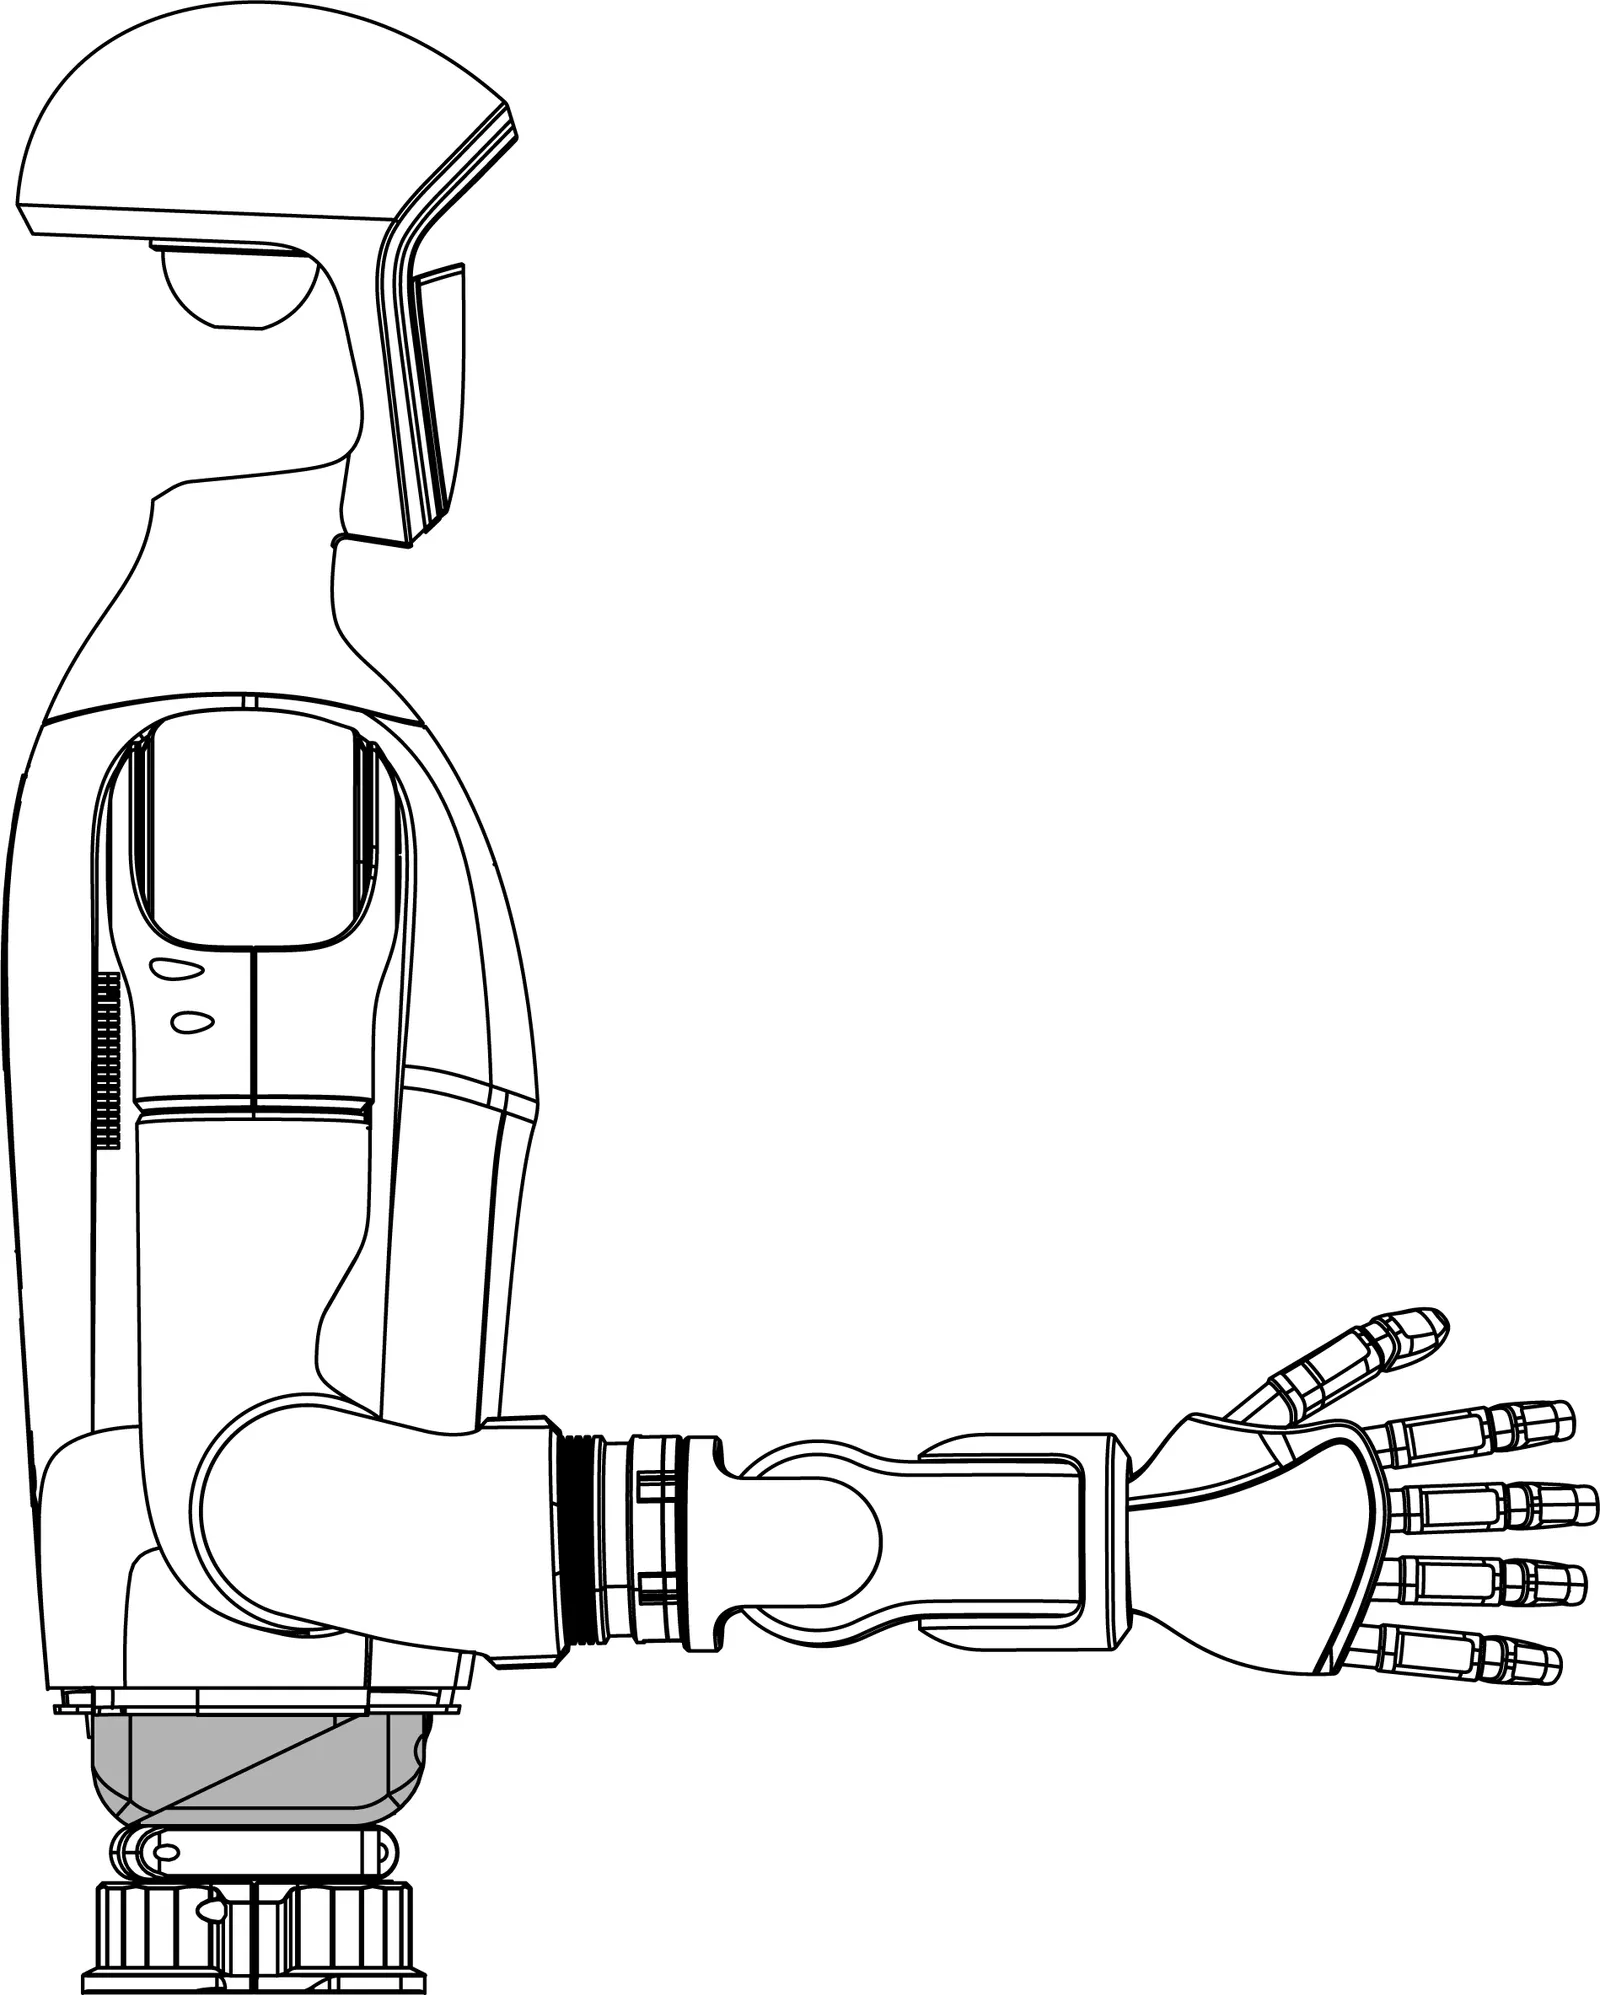
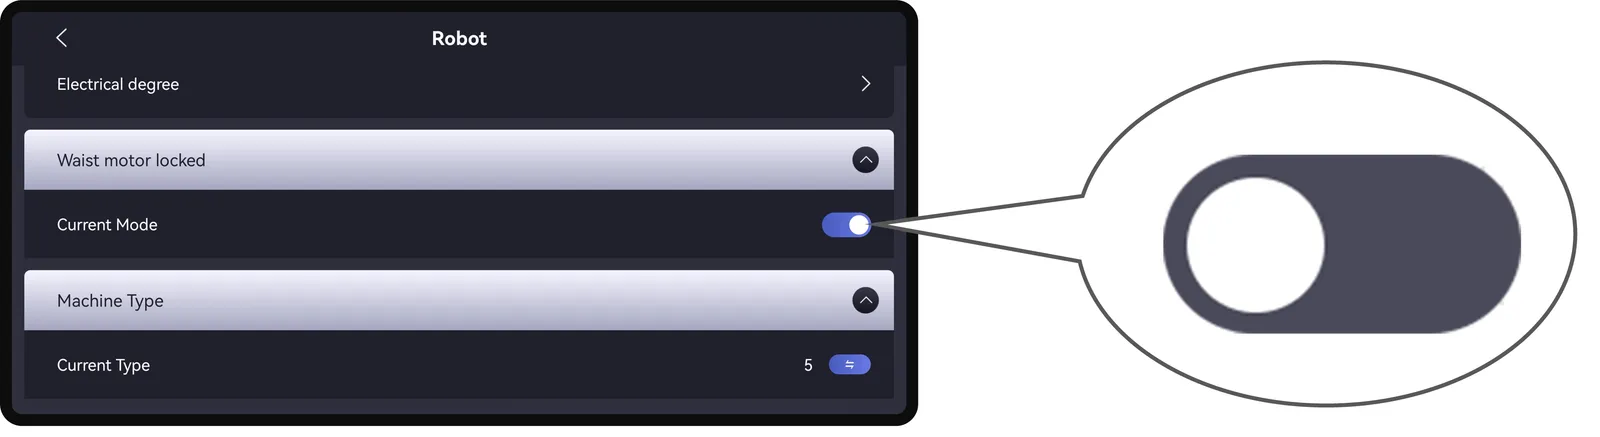
Step5: Software Configuration
Section titled “Step5: Software Configuration”After the waist fixer is installed, you need to enable the waist motor locking function on the Unitree Explore APP [Settings] - [Robot], as shown below:
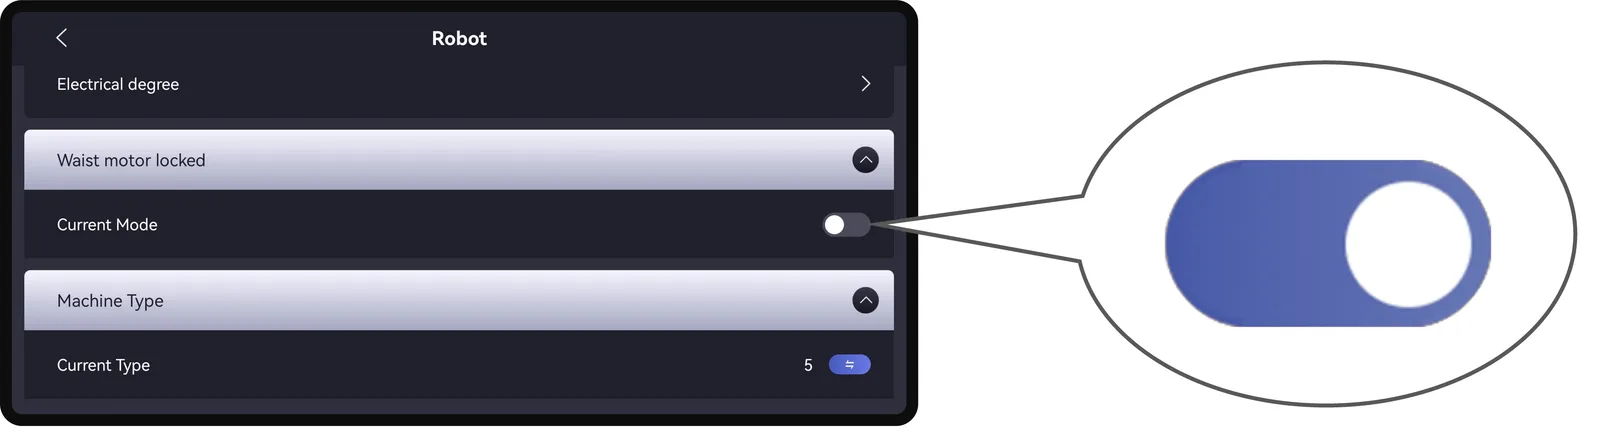
And restart the device according to the pop-up prompt.
Disassembly Instructions
Section titled “Disassembly Instructions”Step1: Remove the waist fixing screw
Section titled “Step1: Remove the waist fixing screw”Use an Allen wrench to remove the two M5 screws from the waist fixing.
Step2: Remove the waist fixing part 2
Section titled “Step2: Remove the waist fixing part 2”Turn the G1 body forward and remove the waist fixture 2 as shown in the figure.
Step3: Remove the waist fixing part 1
Section titled “Step3: Remove the waist fixing part 1”First, turn the G1 body backwards and remove the waist fixing part 1 according to the position shown in the figure.
Step4: Software Configuration
Section titled “Step4: Software Configuration”After disassembly, you need to turn off the waist motor locking function in the Unitree Explore APP [Settings] - [Robot], as shown in the following figure:
And restart the device according to the pop-up prompt.